Clipping paths are now an essential tool when working with images and graphic designing since they help to isolate certain parts of a picture. When you have a clear and accurate silhouette around the object, it is very easy to isolate it from the background or place it on a different one.
Whether it is product photography, graphic design for print or for the web or designing complex illustrations, the clipping paths are useful. clipping path services is one of the most powerful features of Adobe Photoshop, an industry leader in image editing software. This blog will provide you with the detailed information on how to create a clipping path in Photoshop in 2024 with the best practices.
What is a Clipping Path?
Clipping path is a vector line or shape which forms the boundary of the region of interest within an image or an object. It enables a person to split an object from its background, which makes it easy to change only that object without affecting the background.
Clipping paths are often utilized in photo editing, graphic designing, and print media industries to cut out objects from their natural backgrounds and then paste them onto other new backgrounds. clipping paths services offer increased flexibility and the ability to achieve cleaner composites for designers and photographers, which is important for better control in terms of visual design.
Tools Needed for Creating a Clipping Path
Here are some of the tools that are required to establish a clipping path in Photoshop:
- The first and most basic tool is known as the Pen Tool which enables the user to draw around the object of interest by placing anchor points and then creating paths.
- The Convert Point Tool helps in the fine-tuning of paths with curves to make them more fluid.
- In Illustrator, the Paths panel is where everything related to the clipping paths you create is controlled.
With these tools in place, Global Photo Edit provides clipping path services to efficiently deliver the desired images as requested by the client.
Step-by-Step Guide to Creating a Clipping Path
After we discussed the concept of clipping path services, we need to understand that it is a very useful step in graphics designing, photography, and image editing in Adobe Photoshop. A clipping path is applied in the sense that an object or subject is removed from its background so that it can be pasted in another background or used in different compositions.
Here’s a step-by-step guide to creating a clipping path in Photoshop:
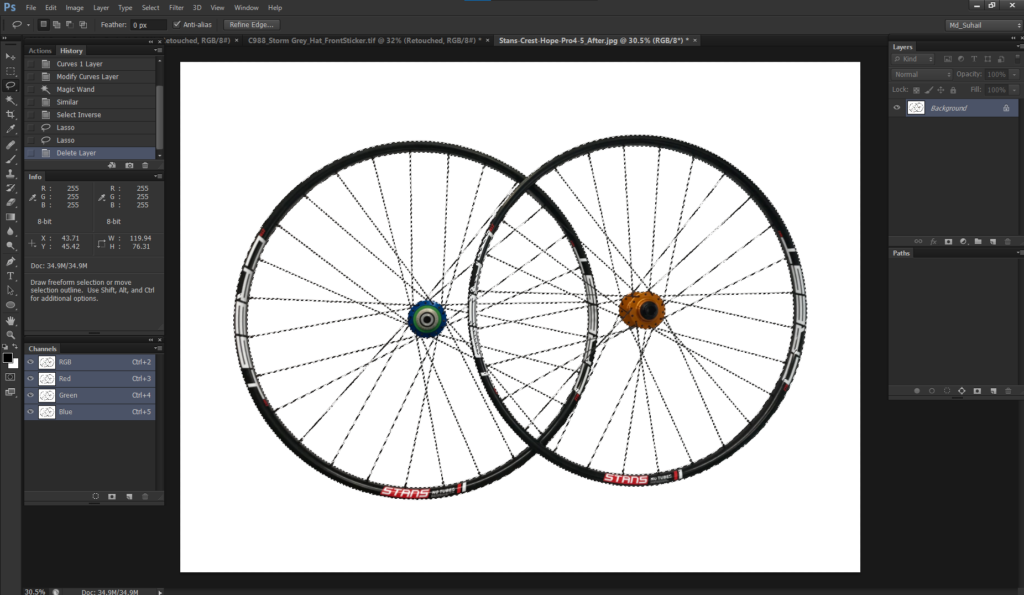
Open the Image: Start by loading the image in which you want to create a clipping path using Photoshop.
Create a New Path: To do that, open the “Paths” tab which is located under the Window menu, and then click on the “New path” button which is represented by the Pen tool. If this is not true then you can click on the “Pen Tool” button situated at the top of the page.
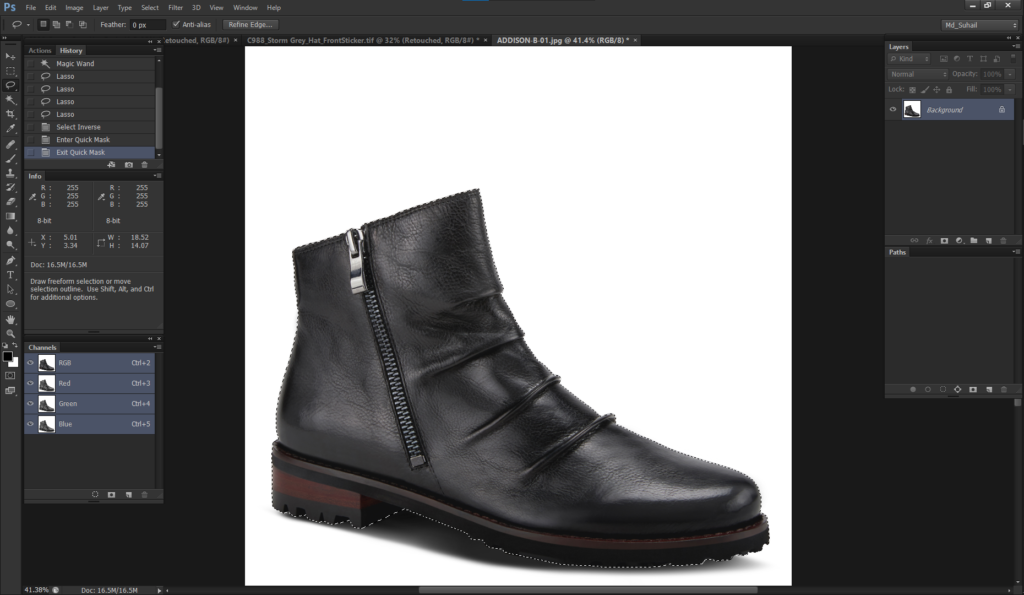
Begin Tracing: Once you have clicked on the image, go to tools and choose the Pen Tool to trace around the object or subject that needs to be isolated.
Close the Path: When you have finished drawing around the object to join the path, go to the starting anchor point while clicking the “Alt/Option” key.
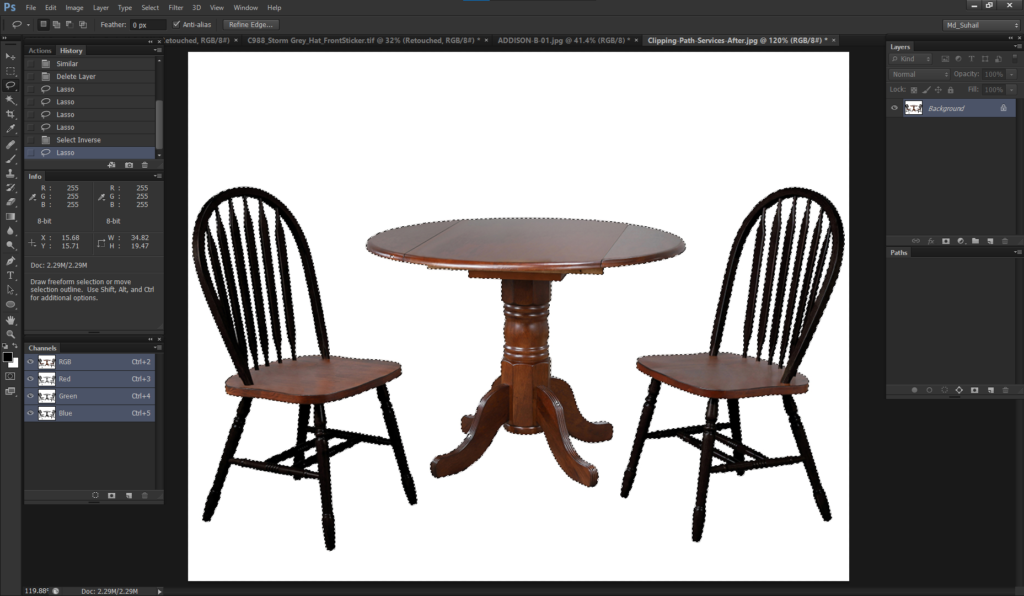
Refine the Path: The path can be altered to make further adjustments to the flow by using the “Add Anchor Point Tool”, “Delete Anchor Point Tool”, curves or by choosing “Direct Selection Tool” (“A”) to move single points or paths.
Convert to Clipping Path: Once the path is set, go to the ‘Paths’ in the top toolbar, and click on the ‘Convert to Vector Mask’ option to make the path a clipping path that cuts the object off of the background.
Adjust Feather: If needed, you might need to click on the “Properties” tab and adjust the “Feather” value, so the object blends perfectly with the new background.
Save the Clipping Path: For the clipping path information to be retained the file should be saved in formats that support transparency such as png or psd. Cutting out the desired image from the background can be very tedious in particular when working on complicated images.
These steps are quite technical in many ways, thus it’s better to contact a clipping path services company such as Global Photo Edit and get the work done.
Tips and Tricks for Perfect Clipping Paths
Move closer in for better magnification of fine features. When drawing curves, especially complex ones, switch the Pen Tool to “Rubber Band” mode. Occasionally, examine the image for stray pixels with the tool labeled “Select Subject”. It is also possible to use hotkeys such as Ctrl/Cmd + Click to choose a path. This setting is used to fine-tune the soft edges; and change the value of the “Feather” slider.
To edit the image, it is necessary to choose a good silo image editing company and work on a separate layer to make changes without damaging the original data. Always save your clipping paths, it is better to save them as paths and not just selections. In the case of large projects, it is advisable to seek the services of professional clipping path services to ensure that they run smoothly and effectively
When to Outsource to Clipping Path Services
Outsourcing to professional clipping path services can be a wise choice in several situations:
Complex Images
If the surface is intricate or has hair or fur or if the object is transparent, then it is very difficult to define the paths. Such delicate tasks are best left in the hands of dedicated professionals, and not for individuals who would want to have their way with the candidates.
High Volume
If an organization is running an e-commerce site or a company that mainly deals with catalogs that contain many images, outsourcing is a sure way of getting high-quality images within the shortest time possible.
Time Constraints
Performance pressure is one of the hurdles especially where time is of the essence in delivering the work. Clipping path services have groups assigned to offer promptly.
Lack of Expertise
The best thing about it is that if image editing is not your strong suit, it can guarantee that the job is in the hands of the experts.
Cost-Effectiveness
This implies that outsourcing can at times be cheaper than having people employed to undertake the work within an organization especially when the workload is at times sporadic or at a specific period within the year.
Conclusion
To achieve a good combination of images, clipping paths services are very vital hence the need to do it correctly. Like most things in Photoshop, it will take some time to master the art of achieving this but as a rule of thumb, the right tools and where necessary, hiring a professional clippaper path service will always do the trick. Acknowledged the role of clipping paths in the advertisement of the graphics outcomes.
A clipping path is a vector graphic that exactly outlines the shape of an object to help you cut out an object from its background. On the other hand, a layer mask is a black-and-white image that can affect the opacity and visibility of the content of a given layer.
Yes, it is possible to make a clipping path for JPG images in Photoshop. However, JPG is a raster format and thus the clipping path is not going to give you editable vector information. It is preferable to use a format that allows for layers with transparency and paths that are vectors.
One should assess the image characteristics such as complexity, the number of images, the time required to process the images, and the level of experience. If you have simple images and time, doing it yourself may work but if you want a professional look and feel then it is better to leave it to the professionals.
Many file formats support the clipping path, including PSD, PNG, TIFF, PDF, and EPS, but PSD is Photoshop’s default format. Such formats facilitate transparency and most importantly, vector data which is crucial for the preservation of the clipping path.
In the 2024 update, Photoshop’s clipping path feature offers enhanced precision with AI-driven edge detection, streamlined workflows for complex selections, and improved integration with vector graphics, significantly boosting efficiency for professional image editing and graphic design.

Related Posts
- - How to Edit Product Photos for White Background on a Cheap Budget?
- - How to Choose the Best Clipping Path Service Provider?
- - Background Image Composite Editing and How to Do in Photoshop
- - How to choose the best clipping path service?
- - How to Cut Out Hair in Photoshop?
- - How to make a transparent background in Photoshop