Photoshop Headshot Retouching Tips For Beginners
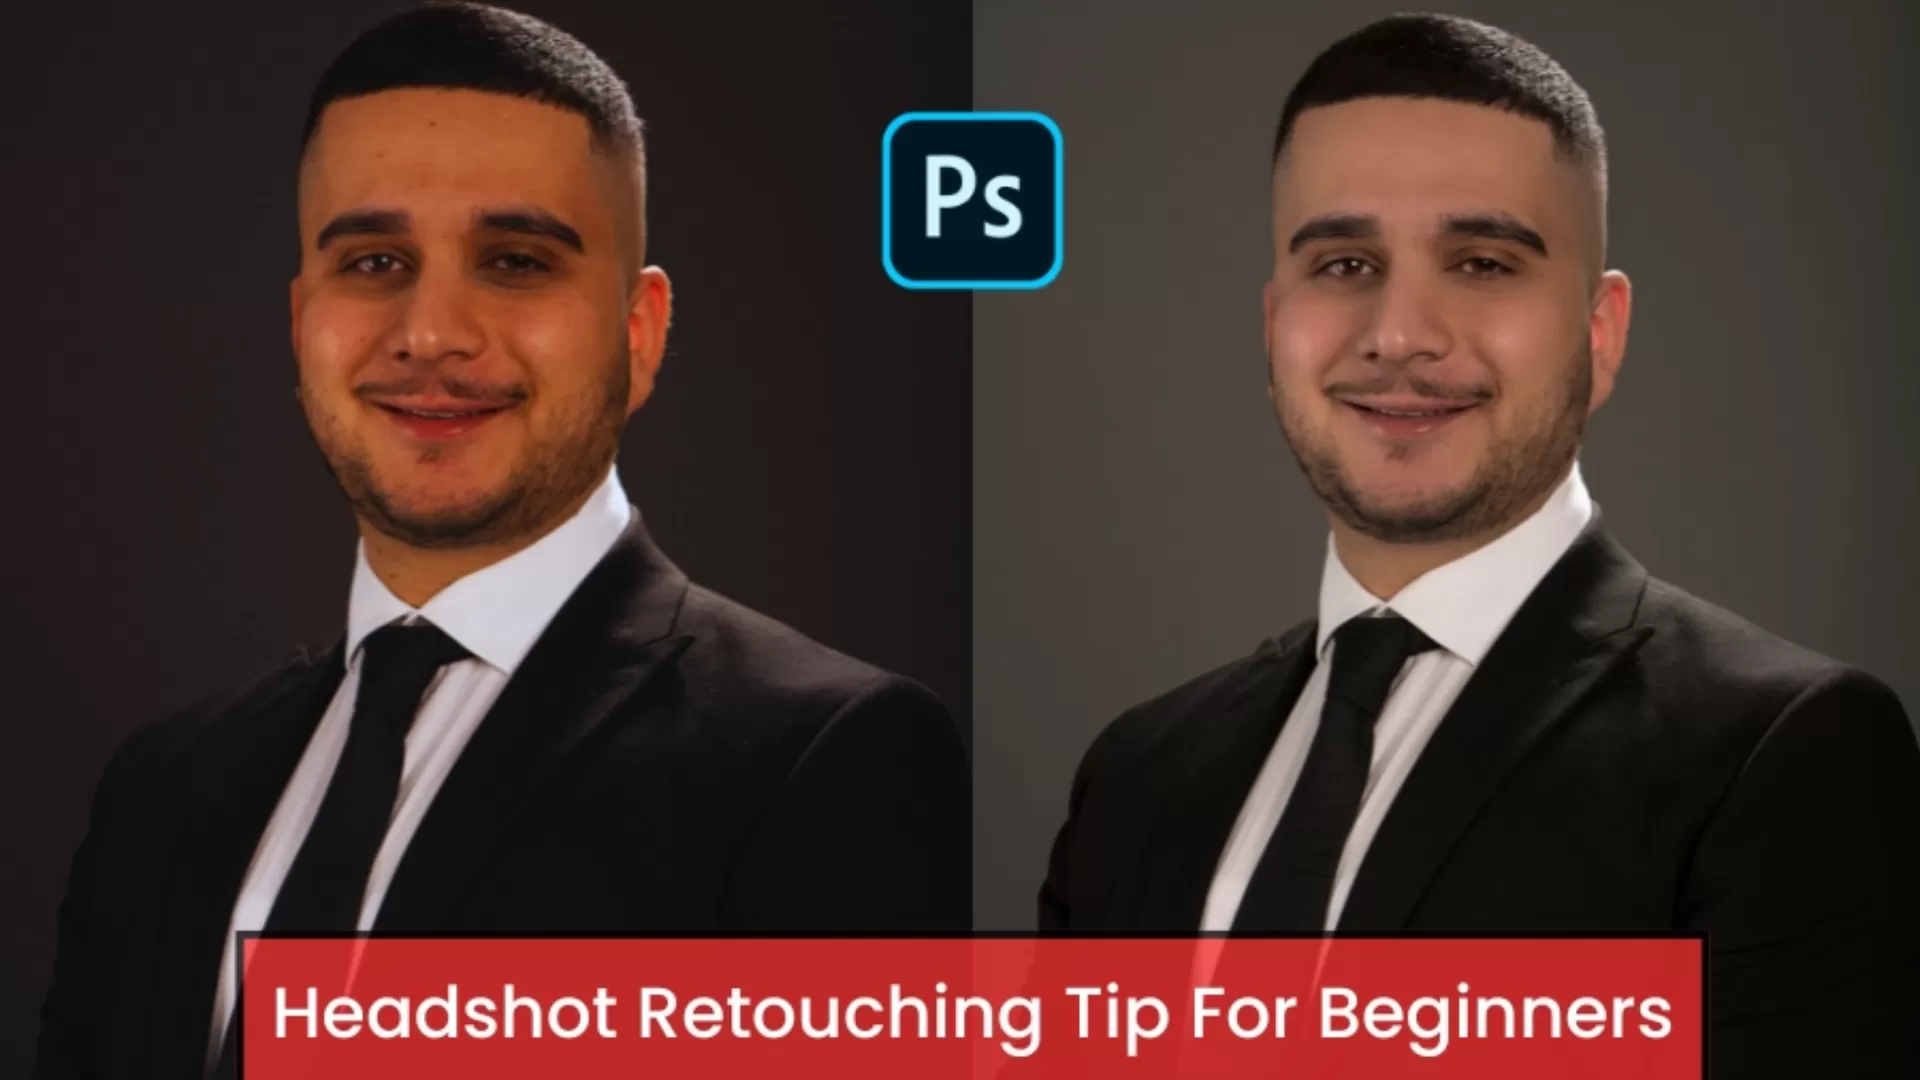
Business, fashion, and creative people require professional headshot retouching services to improve the quality of their photographs. When done properly, a polished headshot not only improves the professional appearance but also builds the foundation of personal branding and leaves a deeper first impression on clients and employers.
The increase in digital applications has made it crucial to have high-quality images to cut in the market. This blog will offer useful information on how to take photos; in particular, headshots that will look natural and reveal the uniqueness of your character.
For those who are photographers and need to edit pictures or those who want to enhance personal images, these tips will help to become better retouchers.
Preparing the Image
Choosing the Right Photo
Choosing the right picture for a headshot is the key to successful retouching. Choose pictures with nice lighting – overcast, diffused light reduces contrast and glare.
Make sure the angle fits the subject’s face positioning the camera slightly above the eye level is rather helpful. Pick an image with a clear background to avoid distractions and select images with high quality for sharpening after the selection.
Setting Up Your Workspace
The first step is to create a directory for the project so that all the files are always in one place. Copy the image into Photoshop and make a new background layer for further editing to save the original image.
Organize your tools according to the way you work; you can use one panel for layers, another for adjustments and one for brushes. When working on a label layer it is advisable to label them to ensure that when other people work on the same drawing they don’t alter your work, or in case you have to work on it again you can easily find your alterations.
Key Retouching Techniques
1. Eye Enhancement
The eyes are usually the most appealing part of a face in a portrait and they are often the main focus of the portrait, so, making the eyes look better will make a headshot look much better.
To enhance the eyes using the Radial Filter in Photoshop, experts at professional headshot retouching servicefollow these steps:
1. Select the Radial Filter: On the toolbar, click the Radial Filter tool.
2. Create an Ellipse: Put a circle around the iris of one eye. Shrink the mask to fit only the iris and the edges should be soft.
3. Adjust Settings: Adjusting the Radial Filter settings, move the Exposure slider a little bit to the right to make the iris look brighter.
4. Erase Outer Areas: With the Radial Filter, use the Brush to paint away any changes made to the whites in the eyes or skin to only make changes to the iris.
5. Duplicate for the Other Eye: When you are happy with how the first eye looks, hold down Ctrl/Cmd, drag the pin to the second eye and adjust to fit, holding the clone stamp tool.
2. Skin Smoothing
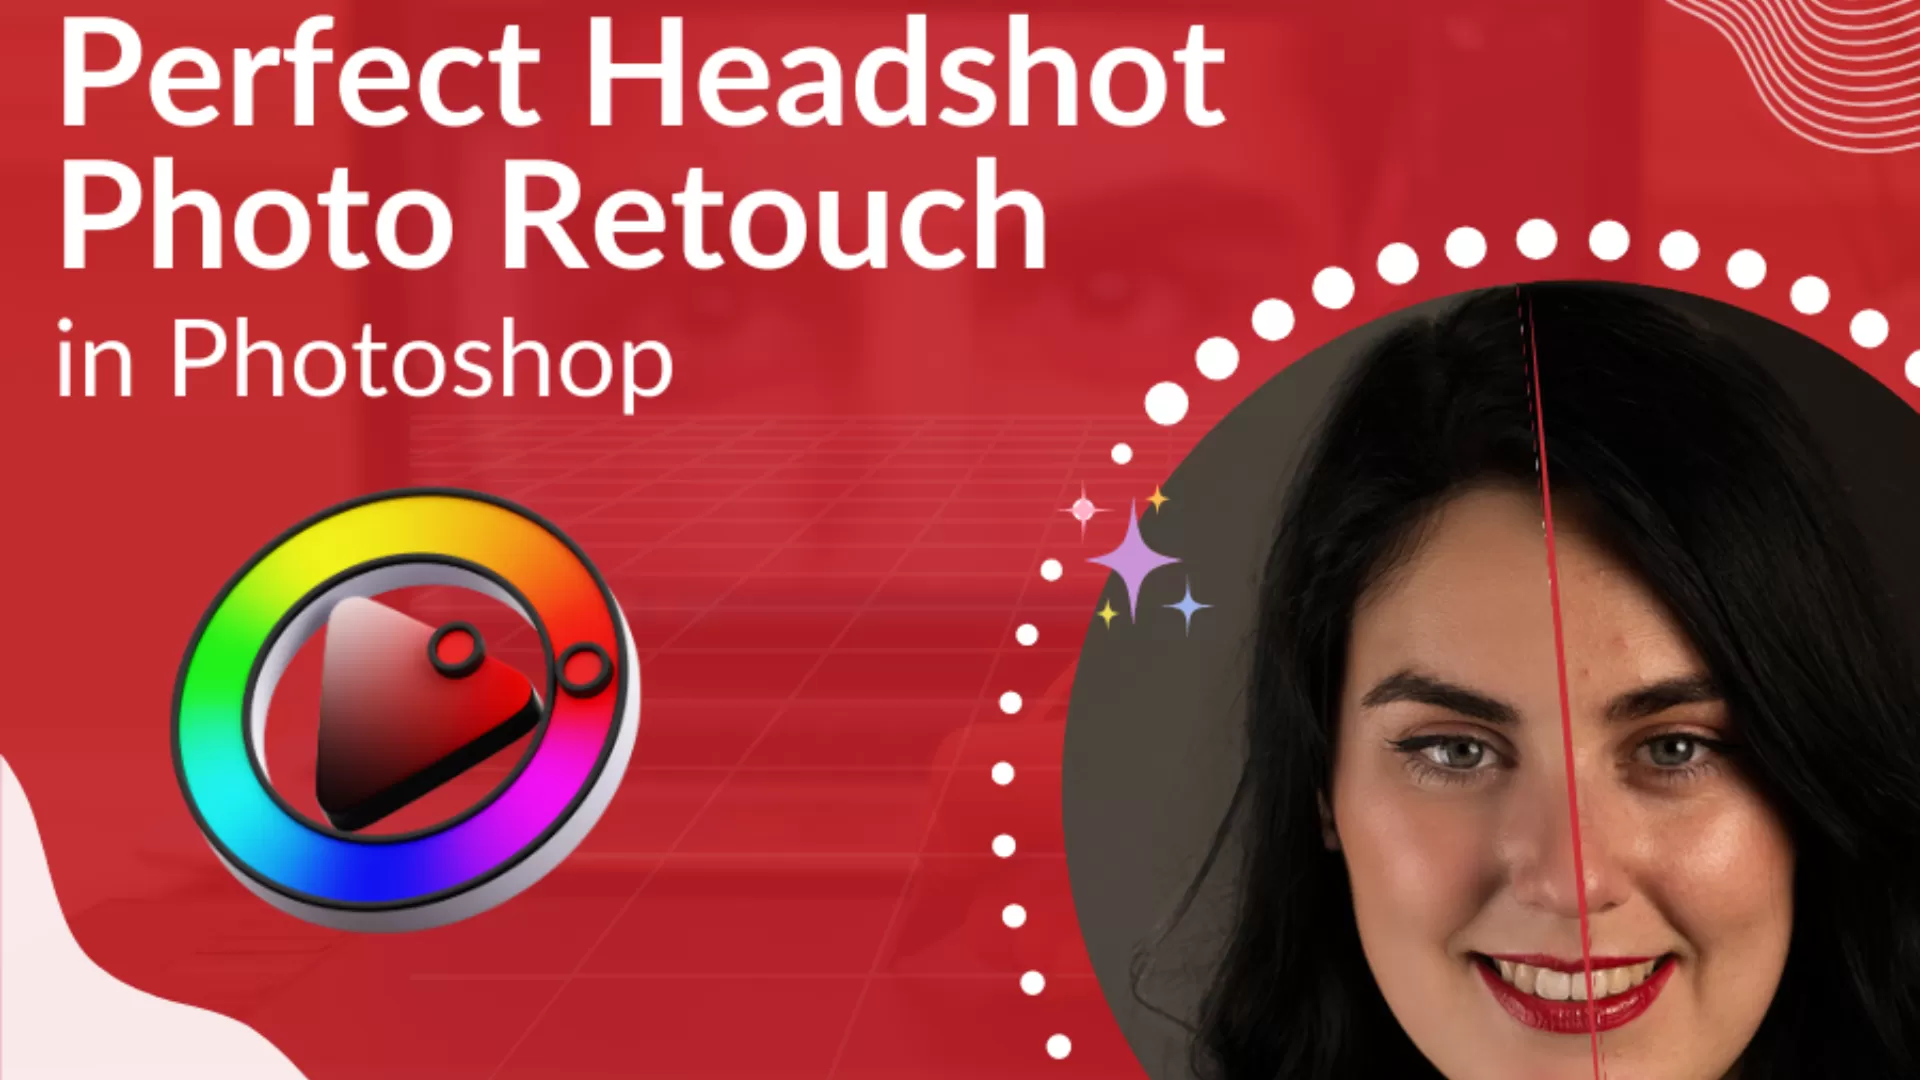
This is a general rule of thumb when it comes to headshots; the skin should be flawless and look polished. Begin with the Spot Healing Brush to eliminate various simple defects such as skin blemishes and pimples. Choose the tool, set the brush size and then use it to click on the mark to melt it into the skin.
For preservation of the natural skin texture apply the High Pass Filter method. Copy the background layer, and then apply the high pass filter under the filter menu by clicking the other category.
To ensure that the outline is clear and well defined, set the radius to approximately 9.0 pixels. Set the layer blend mode to Linear Light and the opacity will adjust the intensity of the change.
3. Removing Hotspots
Hotspots are those areas on the skin that are over-lit resulting in an unhealthy look of the skin making the subject appear sweaty or unnatural. These highlights can disrupt the major curve and harm the face of the person.
To effectively work on hotspots, the preferred tool is the Patch Tool in Photoshop. First, make a new layer so that the changes made will not affect the original image. Choose the Patch Tool and create a rough selection of the hotspot area.
4. Sharpening Features
It is important for headshots where it is required to sharpen more for detailing but one must be a very specific channel to avoid skin texture which looks very unnatural. It is found that the best results are obtained when focusing on the red channel only since it is least likely to contain higher skin detail. To know more or for professional headshot retouching service,contact Global Photo Edit.
5. Dodge and Burn for Depth
The dodge and burn technique is that of lightening specific areas of an image (dodging) and darkening others (burning) to add some degree of depth. This technique augments facial features, gives form to what would otherwise be flat and can give a headshot more depth.
Using white paint the region as the top of the cheekbones and the forehead, and paint the areas below the cheekbones and the jawline black. You need to mix the strokes finally and bring some natural touch just by using Gaussian Blur from the menu bar, Filter>Blur>Gaussian Blur. It strengthens the aspect of the subject while keeping the look smooth and as close to natural as possible.
6. Stray Hair and Eye Bag Surgery
Erasing stray hair and circles can make a big difference in how good the headshot looks. Change the brush size to make the strokes thin and simply click to merge the hairs in the background nicely. For even more control, you should use the Clone Stamp Tool which samples areas near the strands and paints over the problematic strands.
Take the selection and move it to a clean area of skin to try a better tone. Change the layer opacity to make a more natural blend bringing the light and increasing the brightness in the area, but keeping the texture. This combination will give a professional and new look to your headshot.
Final Touches
Colour Correction
After you have done your retouching, the next thing you need to do is to balance the general tone and saturation of your picture. There’s the Hue/Saturation slider that can be used to fix the color balance of the image, making the skin as natural as possible. One should try to apply a Curve adjustment to adjust brightness and contrast and make the images more interesting.
Final Sharpening
Finally, sharpen to add a little detail to an image after color correction has been done. The sharpening can be done with either the Unsharp Mask or the Smart Sharpen tool using modest settings: an Amount of about 100%; a Radius of 1.0 to 2.0 pixels; and a Threshold of 0. It will illuminate the edges of your subject’s face without losing tenderness in the process.
Conclusion
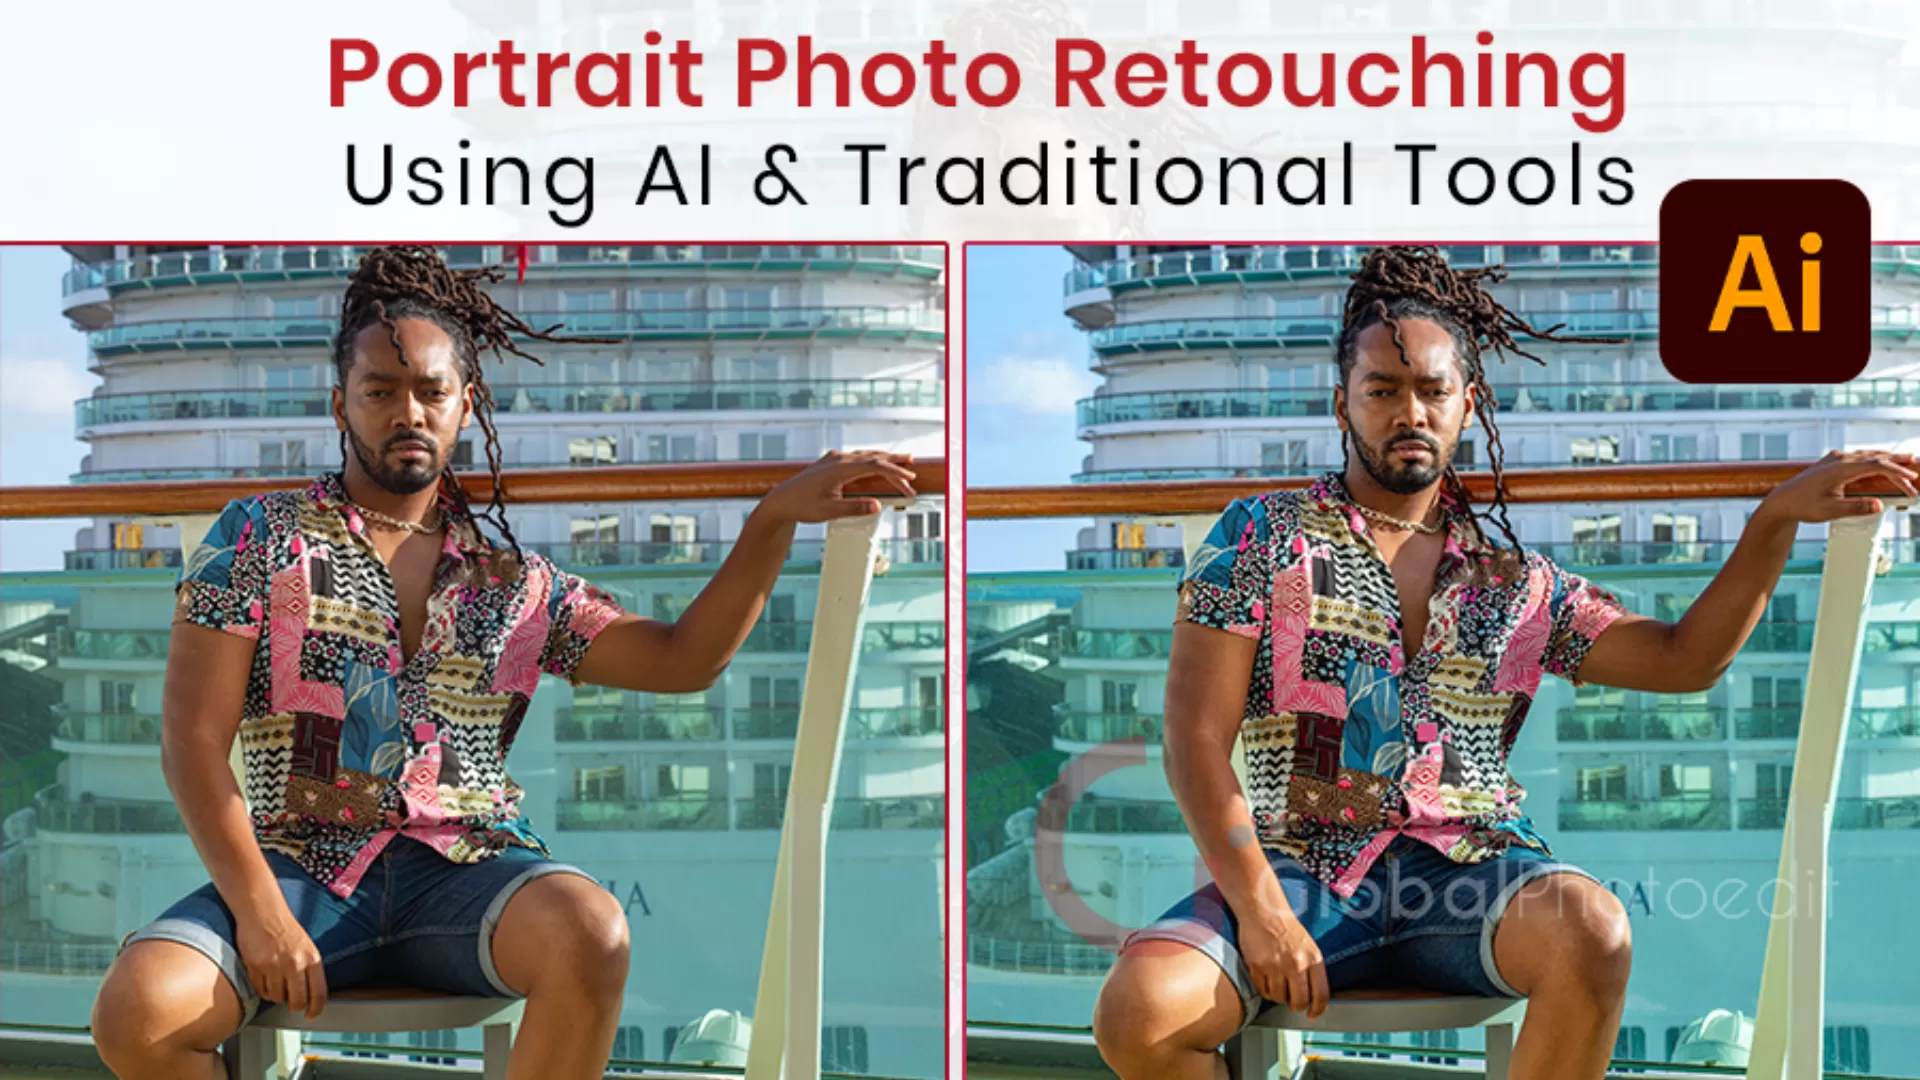
Portrait editing particularly touching the headshots plays a crucial role in the achievement of professional branding especially in various sectors. If you master the techniques as discussed here including eye enhancement, skin smoothing or dodging and burning, then you are set for a great editing job.
These methods should be practiced to improve the effectiveness of your work and to establish one’s voice. Please feel free to share your stories, or if you have any questions, please post them in the comment section below. Interacting with the community can also give you useful information and help as you go further with photo editing. For headshot retouching, contact Global Photo Edit. We’re also the leading portrait photo retouching company.


