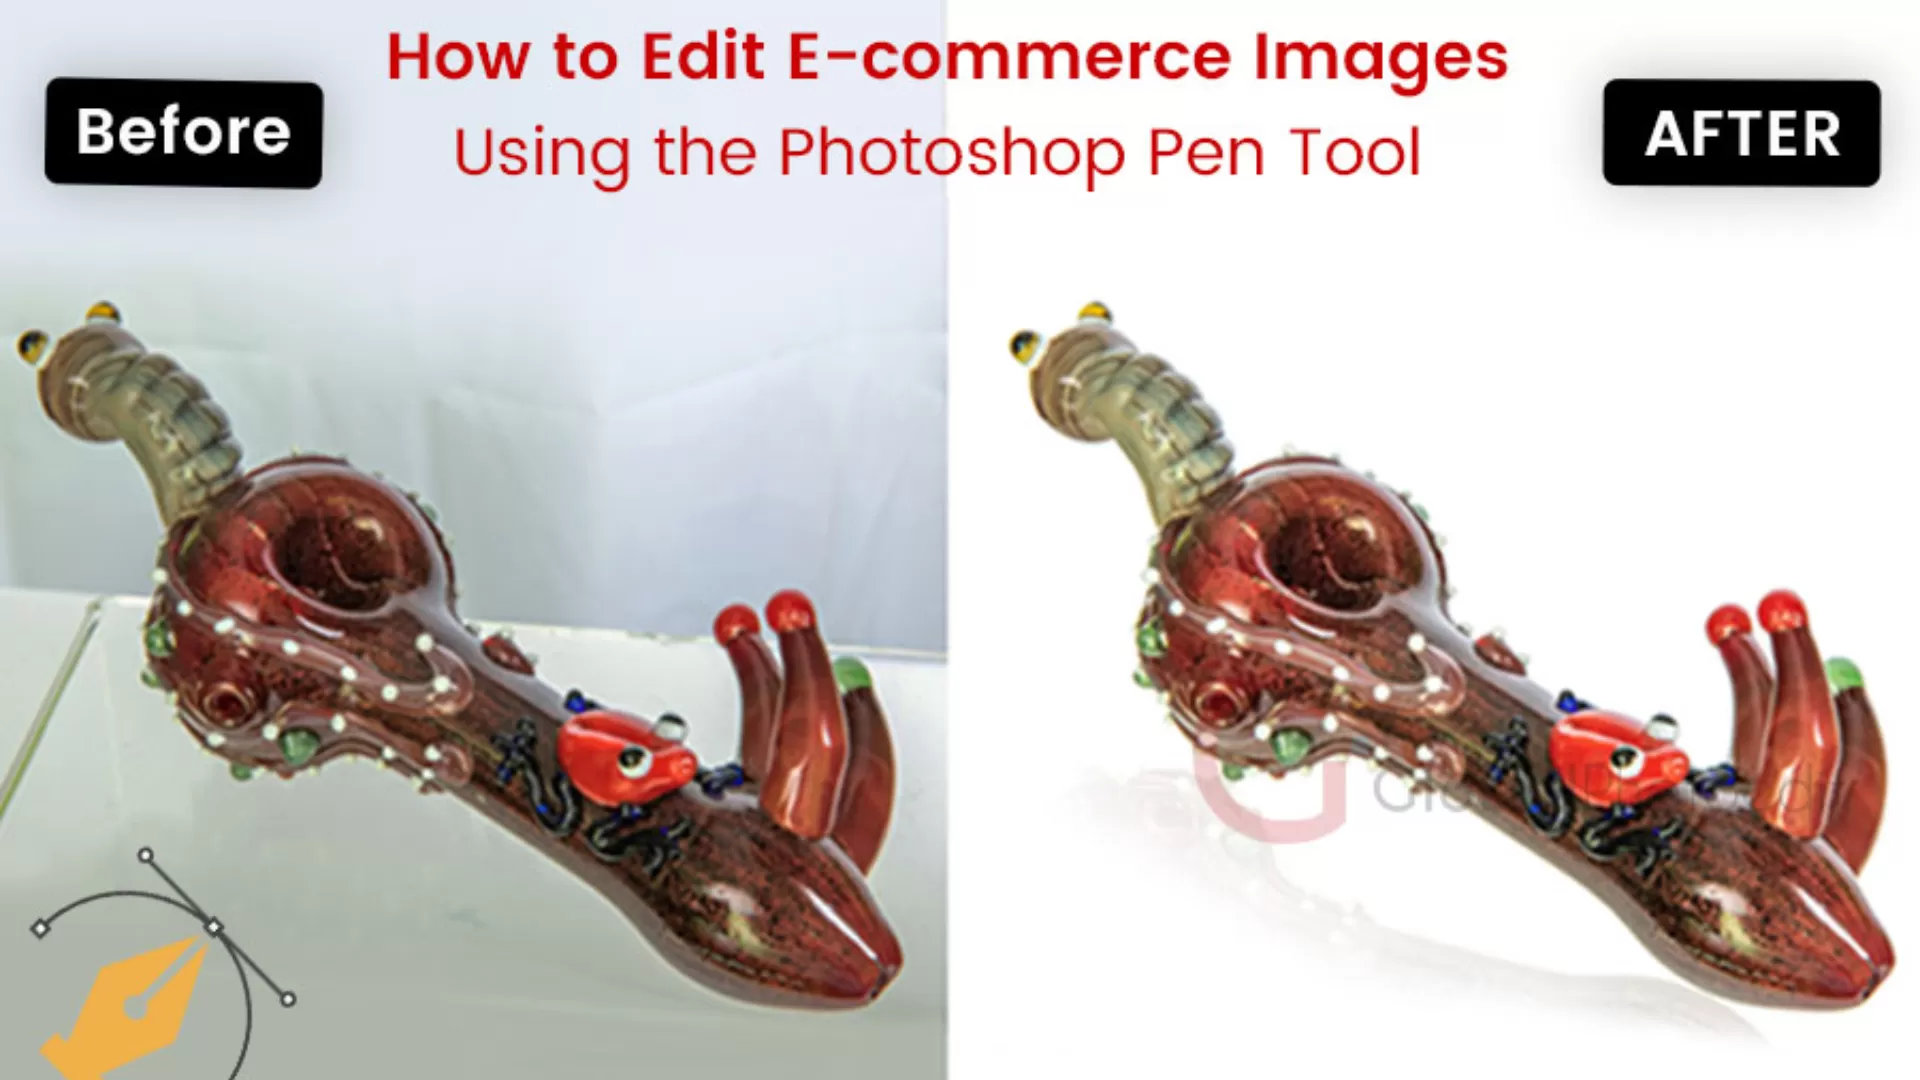
How to Edit E-commerce Images Using the Photoshop Pen Tool?
When it comes to online selling, it is extremely important to understand how customers perceive your merchandise through the lens of a computer or mobile phone screen. Professional pictures lure more customers, lead to sales and help create customer confidence.
As for the image editing tools in Adobe Photoshop, one of the most effective in enhancing product photos is the Pen Tool used by professionals at e-commerce product photo retouching services, for retouching, editing and more.
Why Does the Photoshop Pen Tool Make Sense for E-commerce Images?
Photoshop Pen Tool is a basic tool that is very useful for drawing clear edges and perfect for making products isolated, eradicating backgrounds, as well as fine-tuning.
- Precision: The Pen Tool is specifically useful for selecting areas of the image which is paramount when selling products that require clean and high-quality photographs.
- Flexibility: It is perfect for shapes and curves, and because paths are of type Stroke, they are very easy to edit.
- Professional Quality: This is very important for ecommerce sites as your images must look clean and very well done, which is why Using the Pen Tool is very advisable.
Guidelines for Using the Photoshop Pen Tool for E-commerce Image Editing
1. Right click on the Image and then choose the option to open it in Photoshop
First, ensure that you have the product image you wish to edit in Photoshop open. Always keep the image with high resolution for the best outcome of the image editing.
2. Select the Pen Tool
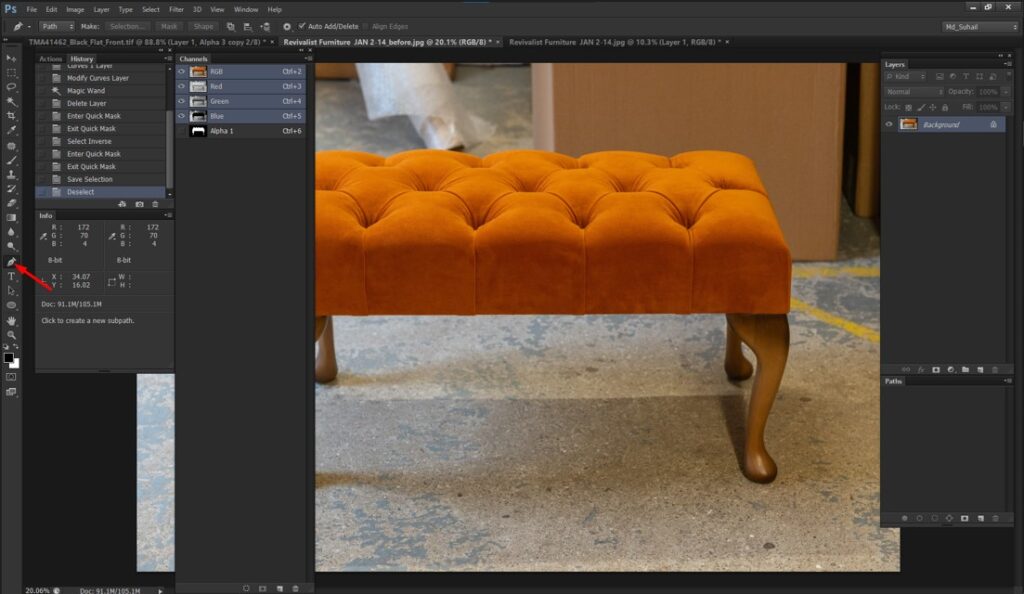
Here, image color correction online professionals need to locate Pen Tool in the toolbar at the left of the window or one can press ‘P’ for its selection.
3. Make a path to the product
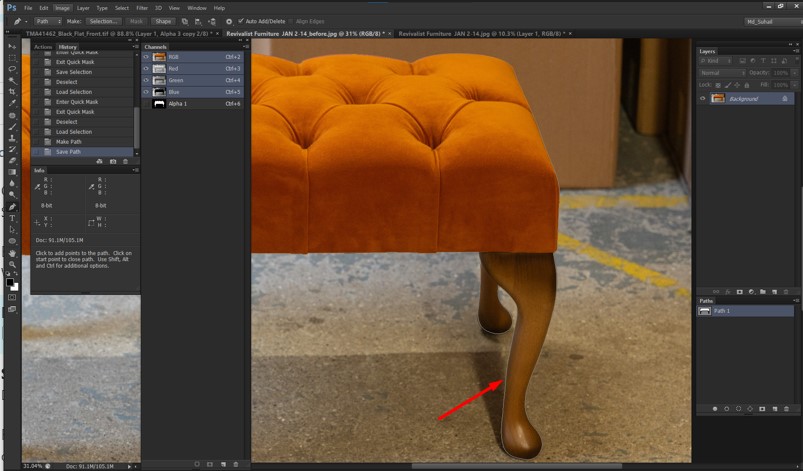
Select to put anchor points round the perimeters of your product. To create and draw straight lines, the click must be made at each selected point. For curves, click on curve tools and then drag the curve handles anywhere you want to on the screen.
- Straight Lines: Once press to add an anchor point then again press to pull a straight line.
- Curves: To create a curve, click to make an anchor point first and then drag your cursor to the next anchor point. Change the slope of the curved line by moving the control points.
4. Close the Path
When you’re done sketching the entire product, choose the first anchor point you unveiled and click on it to complete the path. This will mean the selection is over.
5. Convert Path to Selection
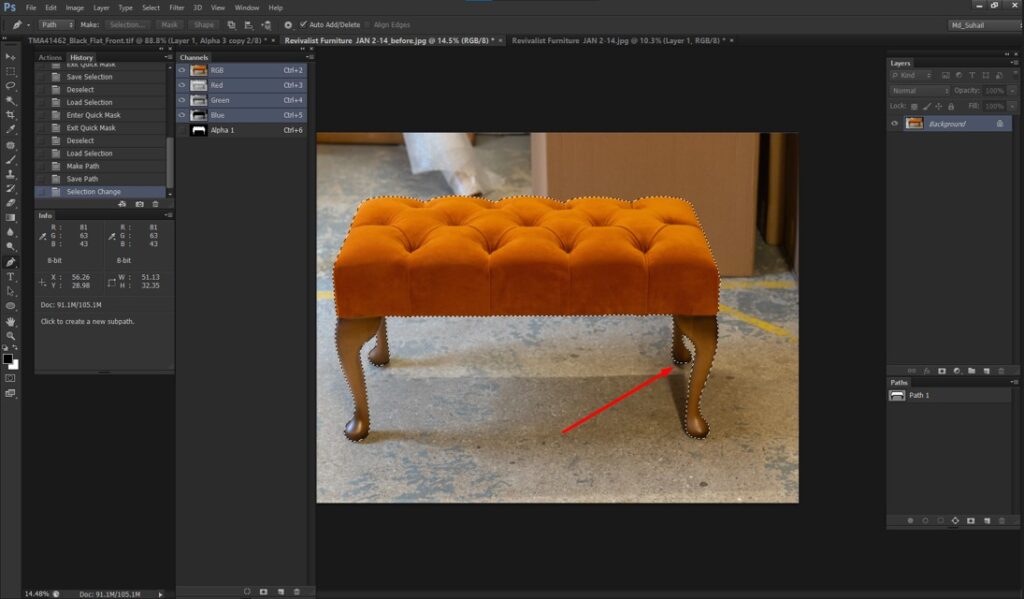
Click right on the chosen path and then go to ‘Selection’ in the context menu. Decide to change the feather radius if necessary to reduce jaggedness in your selection before clicking ‘OK’.
6. Isolate the Product
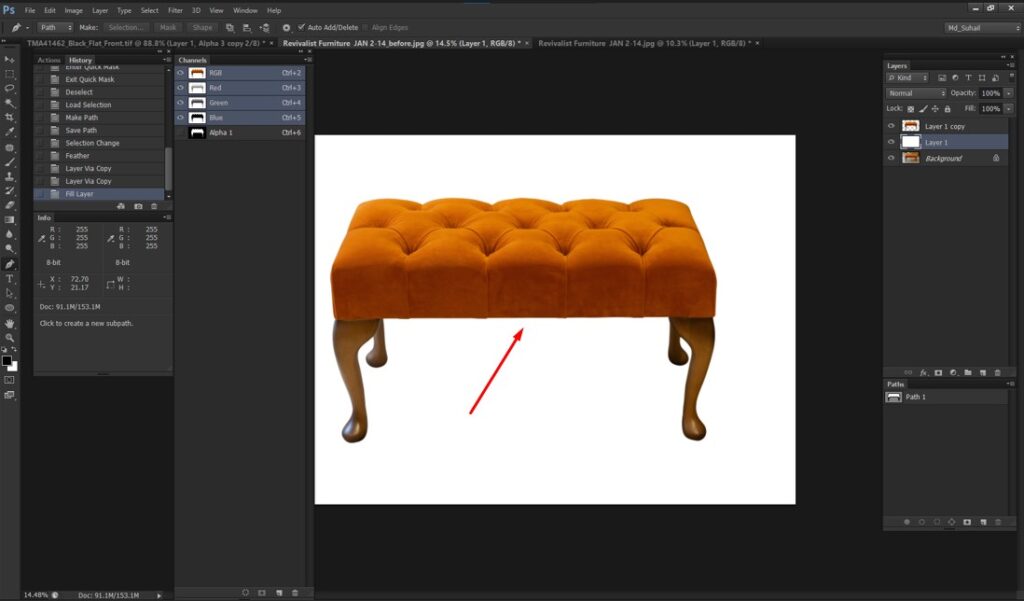
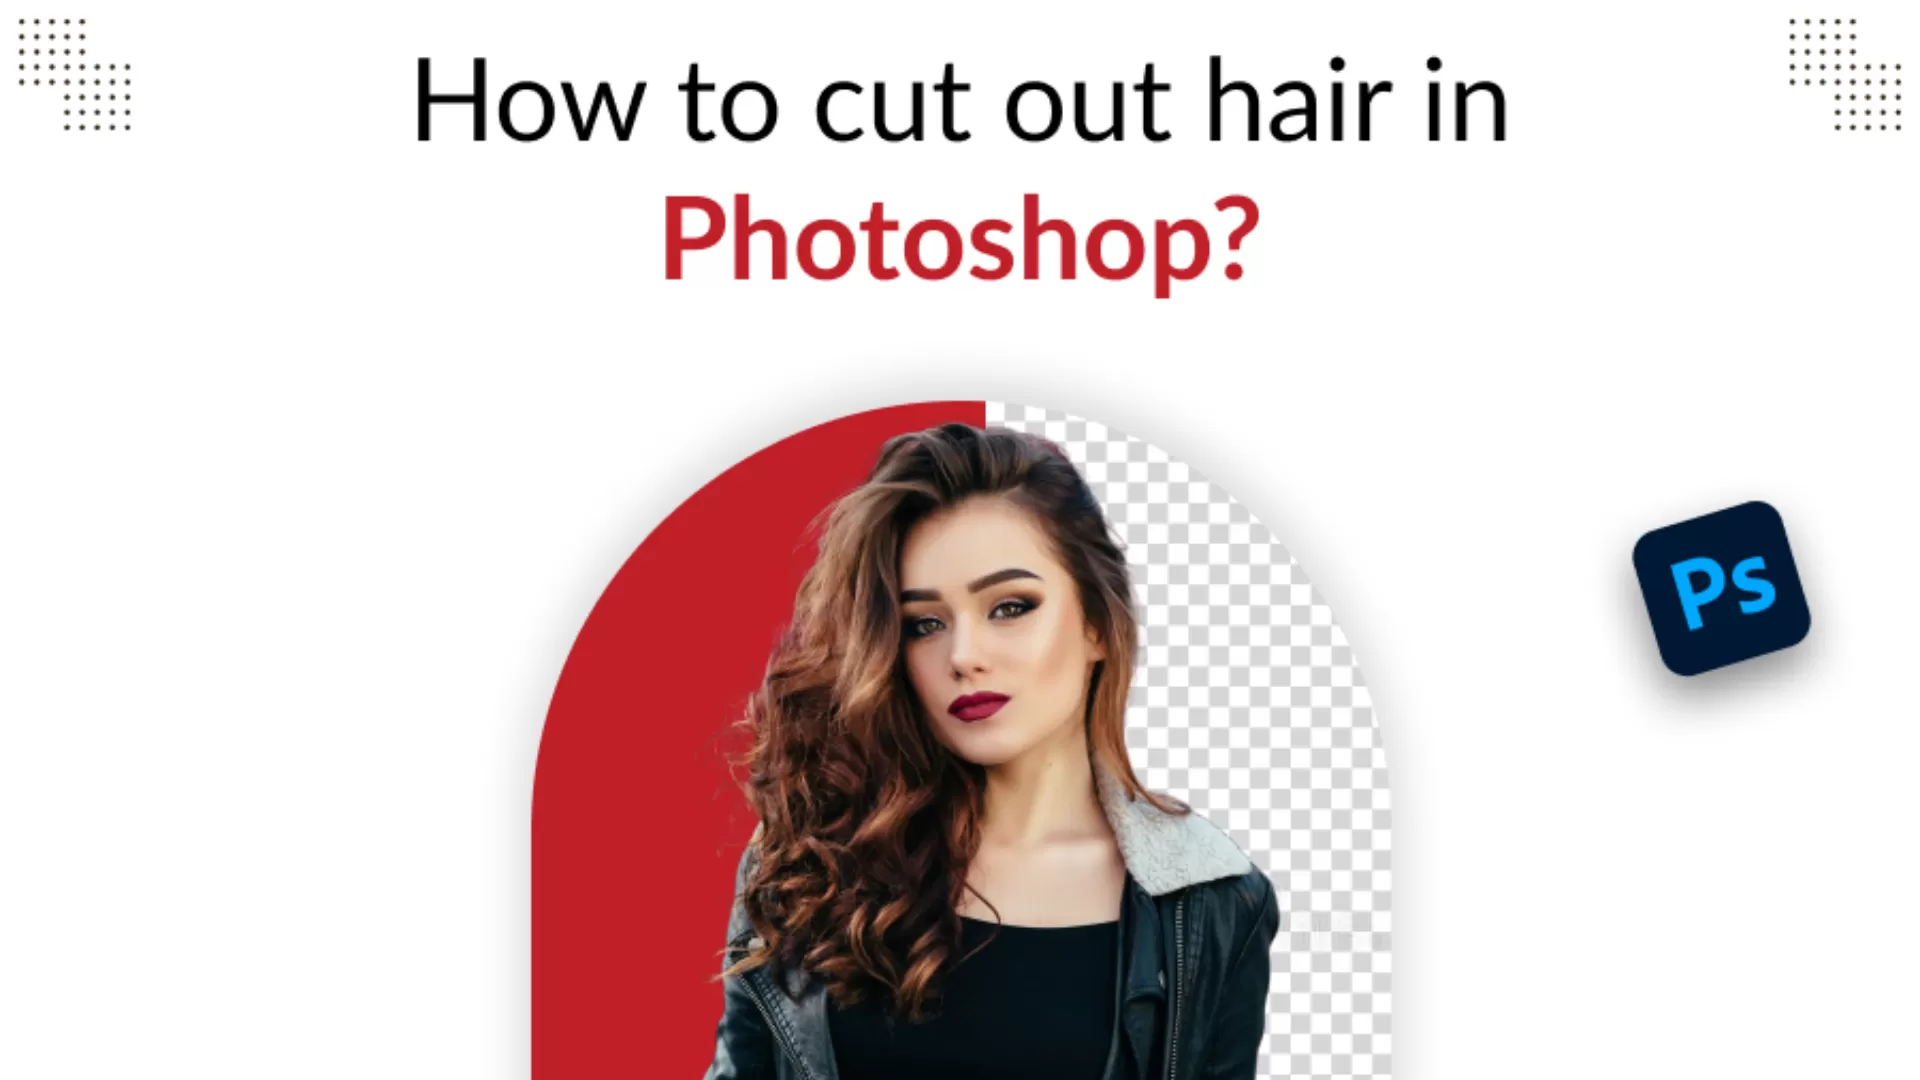
Once you have your product chosen, you can essentially remove or decrease the background. To paint with the selection, first copy and paste it to a new layer or create a layer mask for the selection.
7. Perform Image Retouching
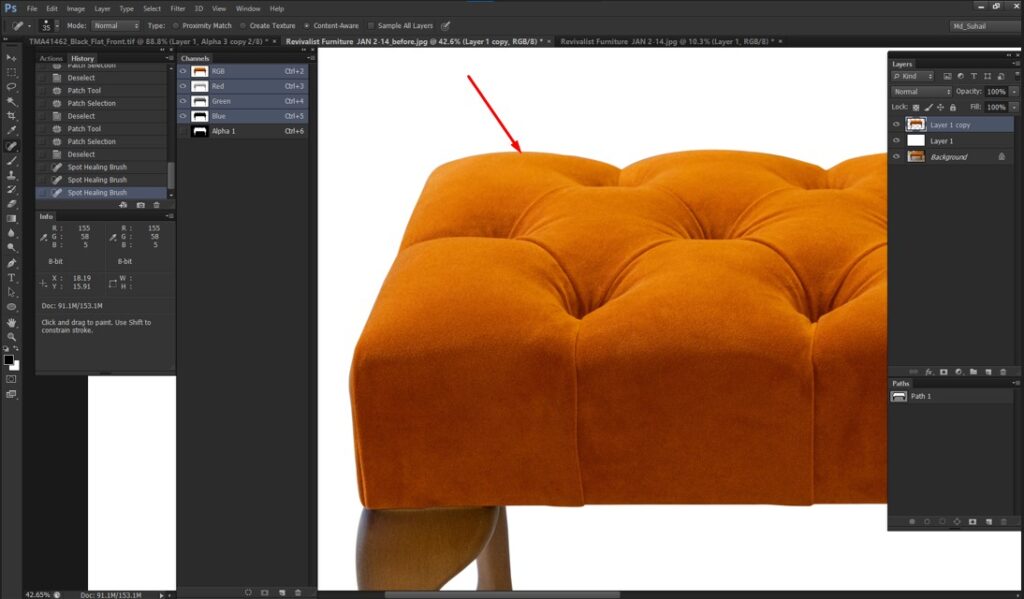
- Healing Brush and Clone Stamp: Repair any spots that are not perfect or flawless in any way.
- Dodge and Burn: In addition to this, intensify the value of highlights and darkness.
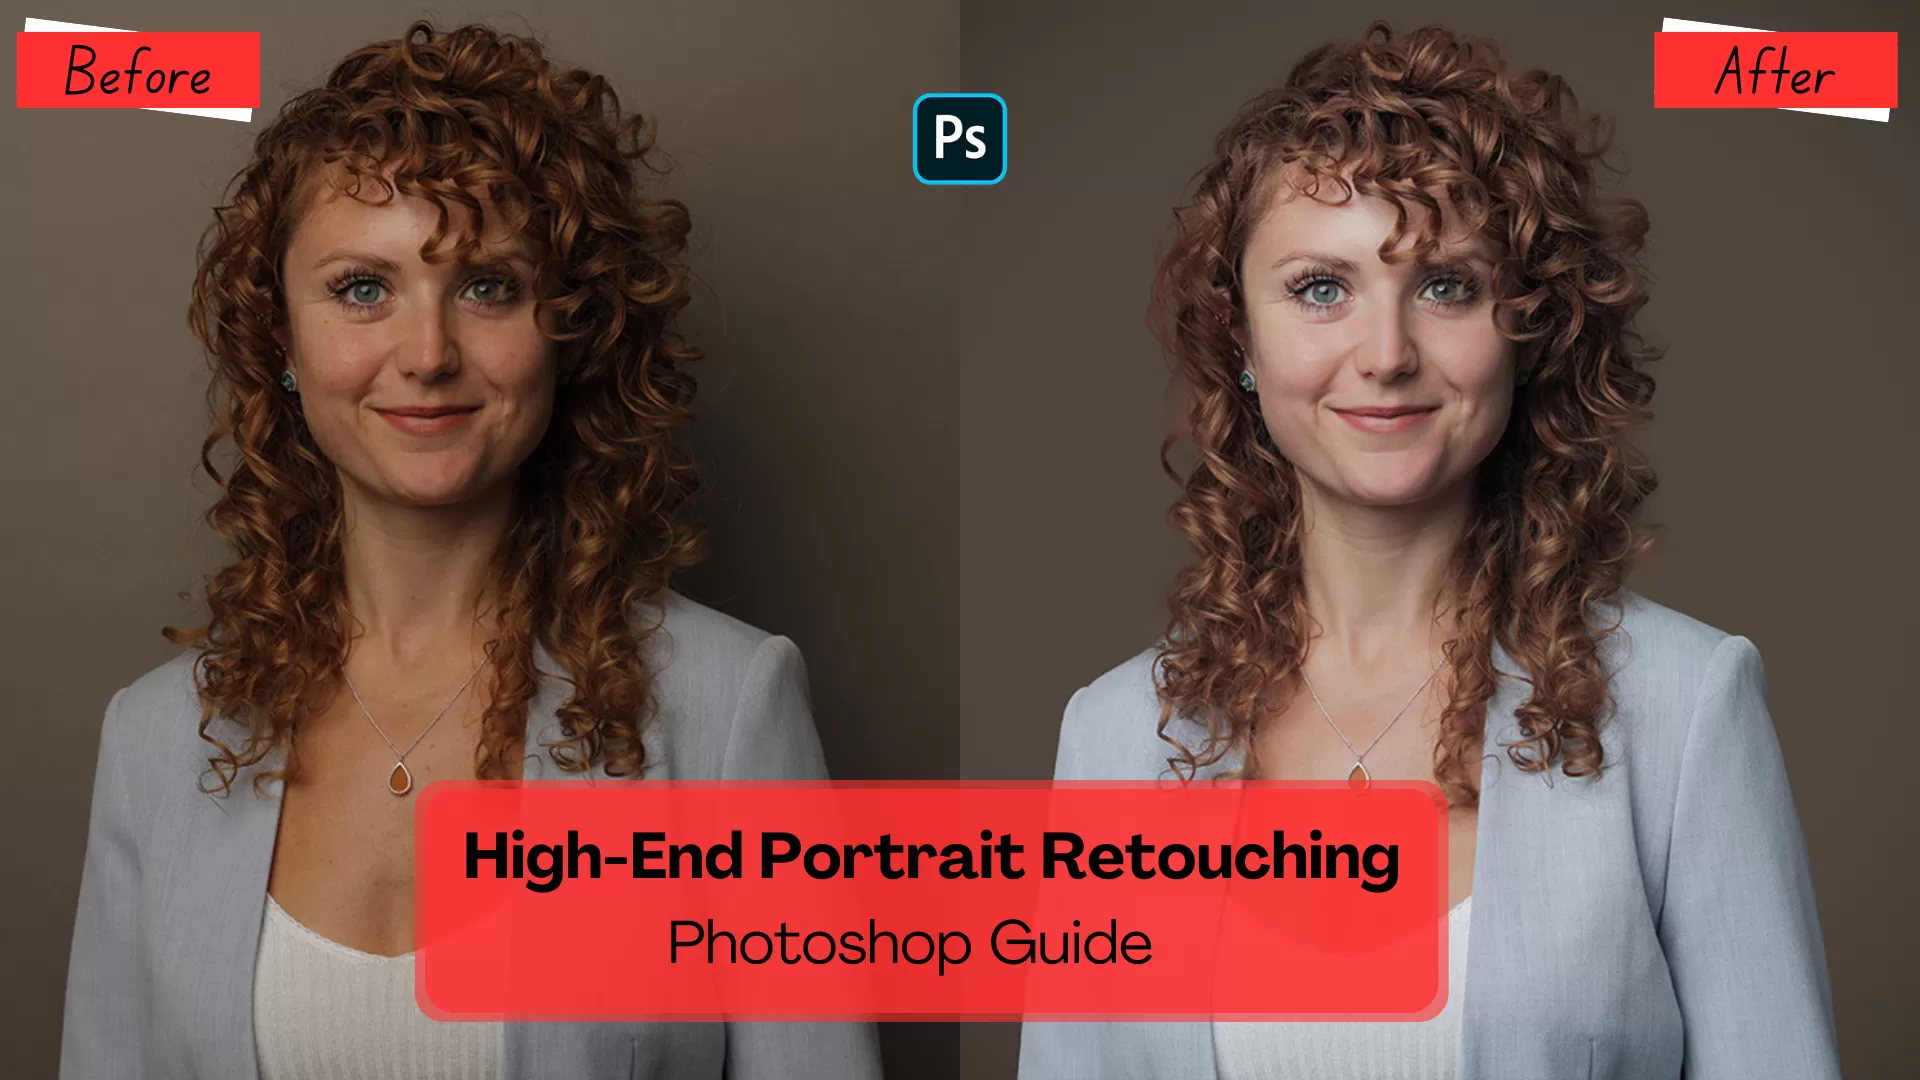
The use of these tools helps guarantee that the product image is perfect, thus contacting e-commerce product photo retouching services is highly beneficial.
8. Image Color Correction
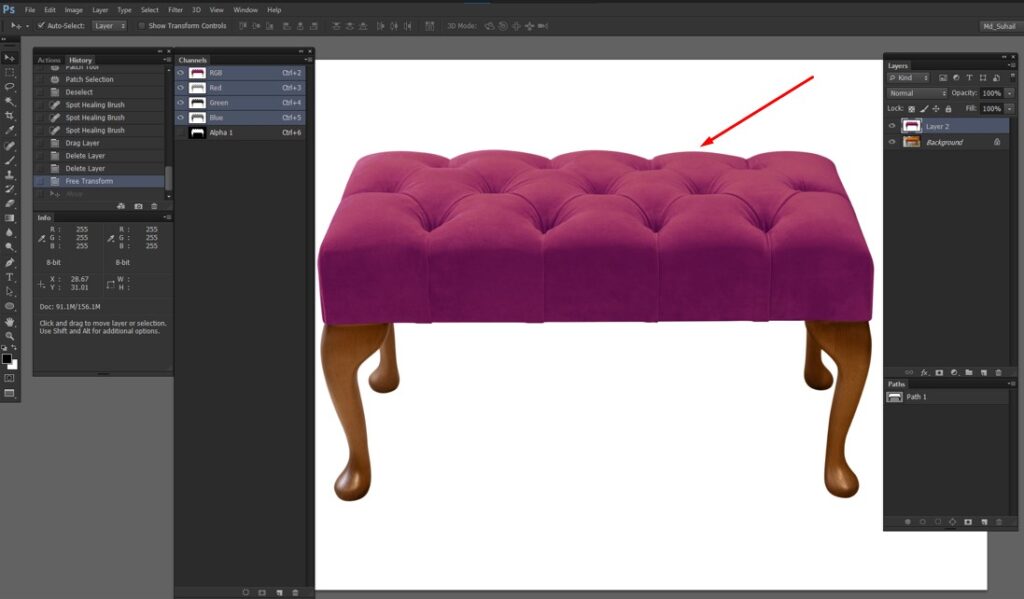
Always reach for targeted color editing tools such as the ‘Hue/Saturation’ adjustment layer, and the ‘Levels’ and ‘Curves’ adjustment layers.These adjustments help you perform image color correction online:
- Hue/Saturation: Change the overall amount of color balance and luminance.
- Levels: Balance the parts in terms of the pitch range.
- Curves: Finalize the images by adjusting brightness and contrast.
These adjustments make sure that the colors of your product that you are adding are as real as they appear on the screen which is very important to customers.
9. Save and Export
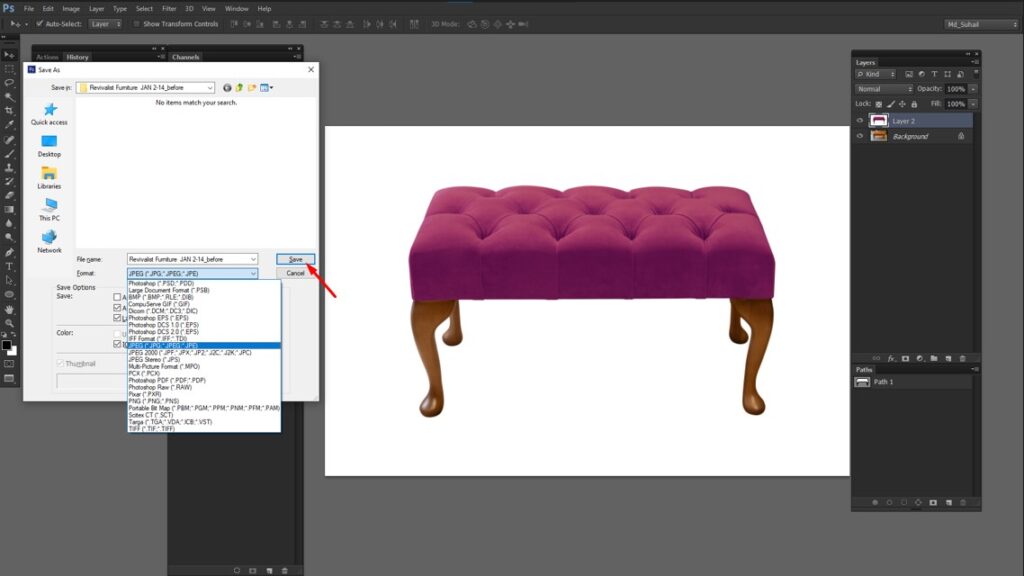
When you have finished making changes that satisfy you, click the save button and save your picture in the file format that supports layers to provide means for further modifications, for instance, PSD. Then, export the final image in a web friendly format suitable for use on your e-commerce site, such as JPEG or PNG.
Conclusion
The Photoshop Pen Tool is especially beneficial for anyone who has to do with e-commerce product photo retouching services, or color correction of images online. It is also used in image color correction online.
Learning about this tool puts you in a position to design well-polished, marketable images that make your online store’s appearance more effective and compelling. Begin today to start seeing how your e-commerce images make the switch to great pictures that make customers engage with your business.
With the Pen Tool as your e-commerce photo editor, you can be sure that your images will be optimally made—giving your products the best presentation. For example, if you are trying to select a particular product in your image, or doing some really detailed retouching, or making sure of the exact color balance, the Pen Tool can provide you with that slight degree of sharpness and accuracy which can make or mar results.
Here, it is pertinent to mention that, hiring pen tool experts is a costly affair, so it’s better to outsource the image editing, and other related work to Global Photo Edit.


