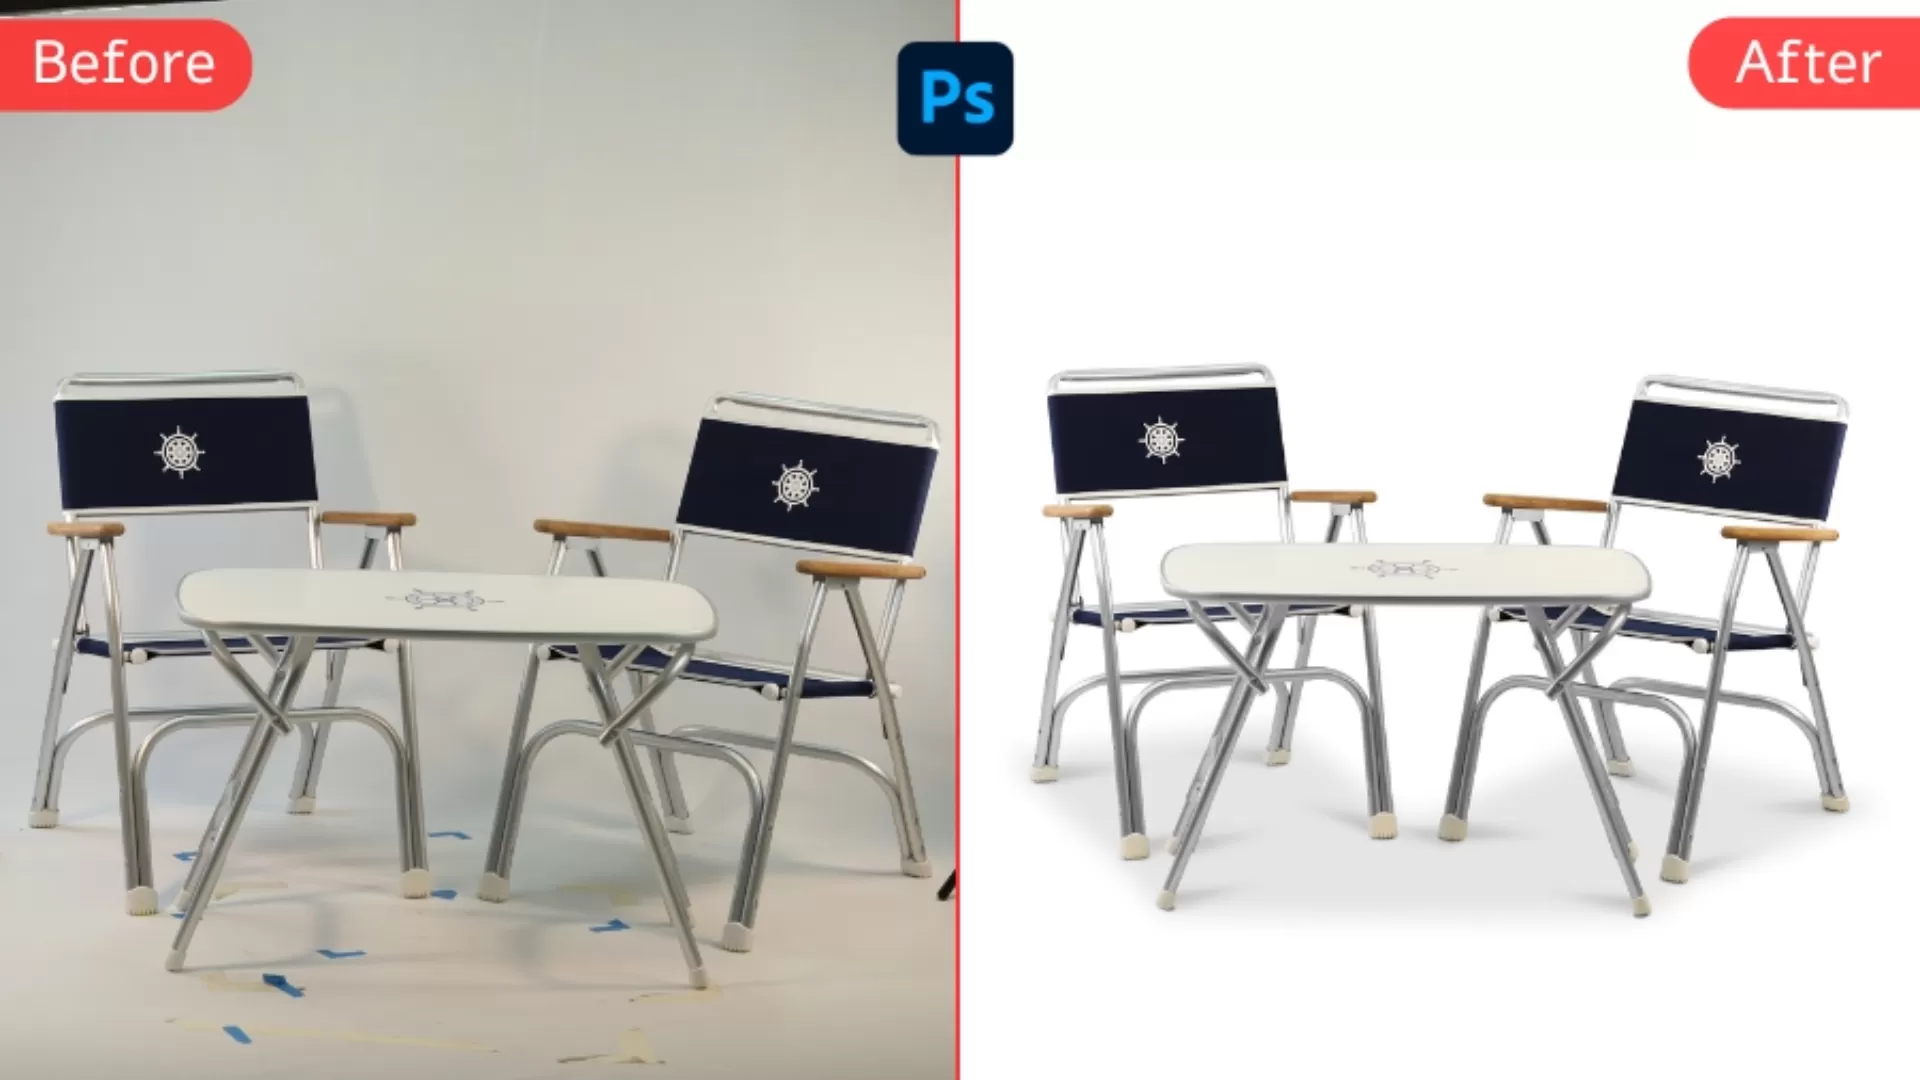
Newborn Baby Photo Editing & Retouching Tips in Photoshop
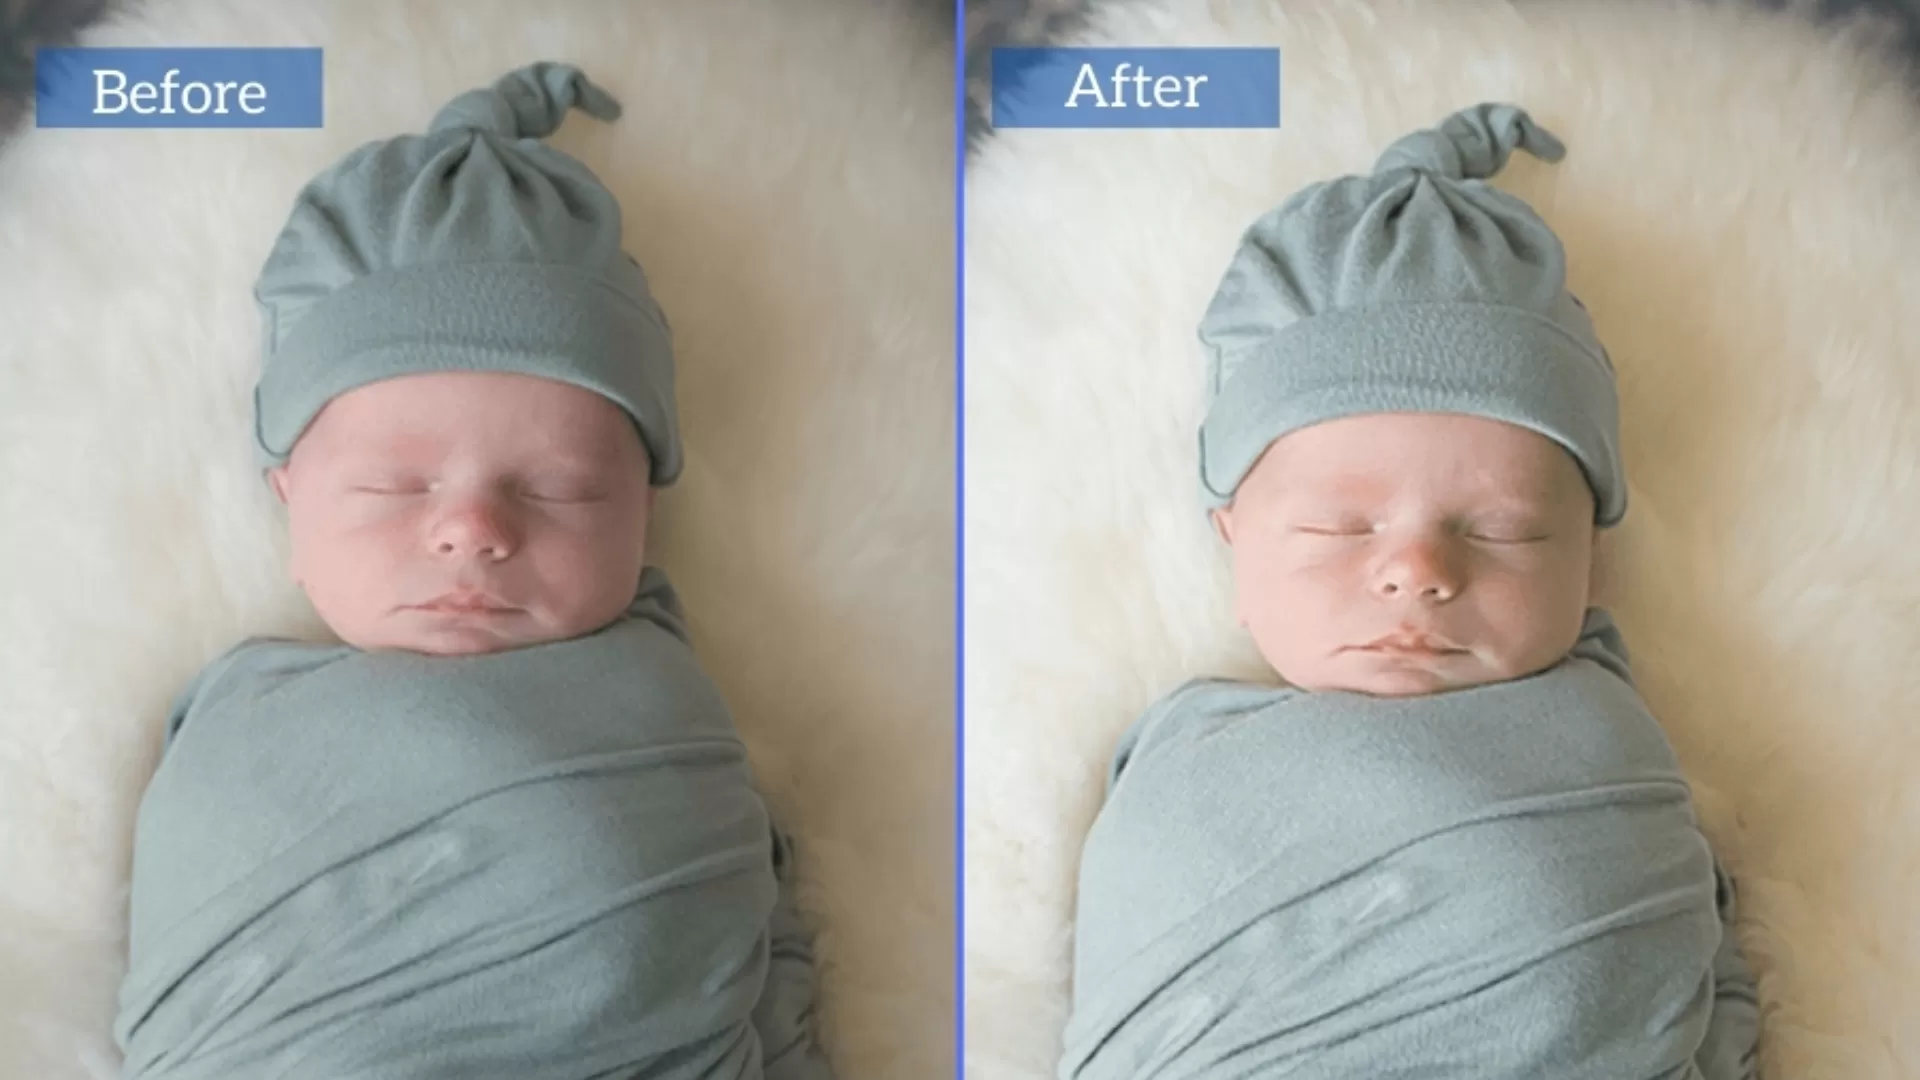
Editing the photos of a new baby is very delicate because you do not only need to enhance the natural beauty of the baby but also need to keep the image looking authentic. This can be done efficiently in Photoshop to achieve stunning results. Herein are the full tips for Newborn skin retouching & editing newborn baby pictures in Photoshop.
1. Prepare and Set Up
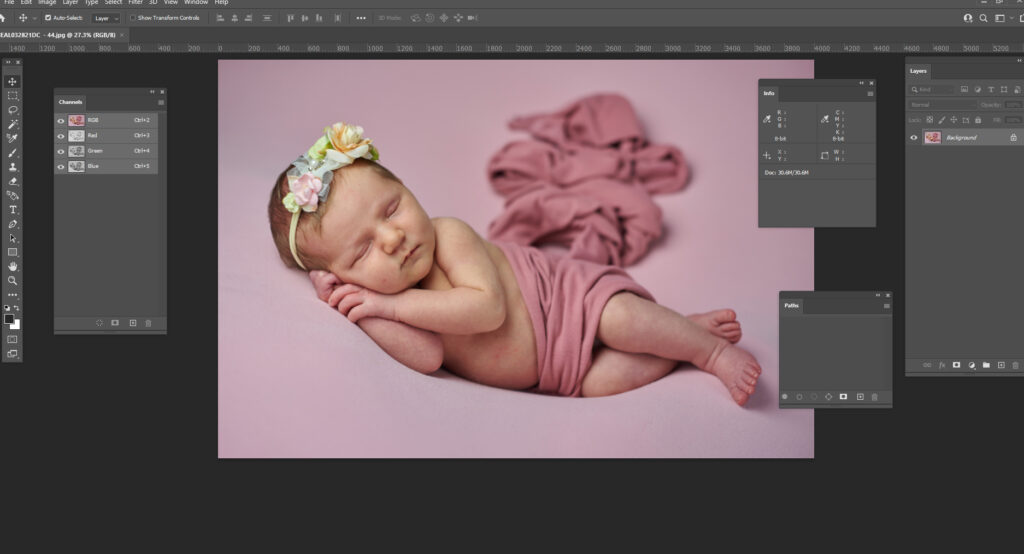
Before editing begins, make sure to work with a high-resolution image; raw format is the best since the more data retained, the more leeway you have with editing.
Workspace: Set up your workspace in Photoshop for photo editing and place your panels within easy reach so that you can get to the tools you will use most often in this class.
Color Profile: Make sure that your monitor is color-calibrated and set up your color profile within Photoshop to sRGB so that your work looks identical on all machines and prints.
2. Basic Adjustments
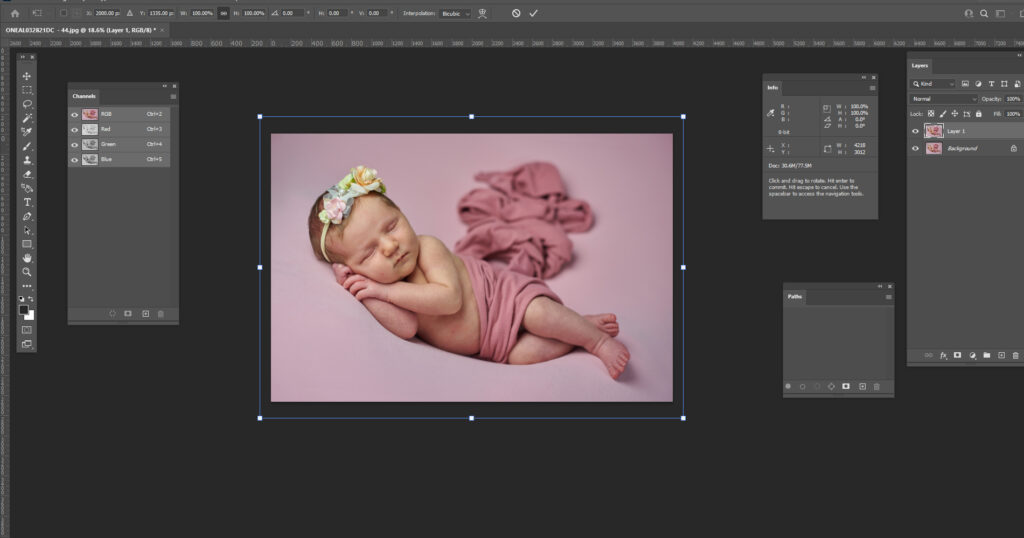
Brightness and Contrast: Quite often, newborn pictures will need a little tweaking in brightness and contrast to define the baby’s features. Image > Adjustments > Brightness/Contrast allows for subtle adjustments.
White Balance: Correct the white balance until the skin tone of the baby looks natural. You can use temperature and tint adjustments available under Filter > Camera Raw Filter.
3. Smoothening Skin
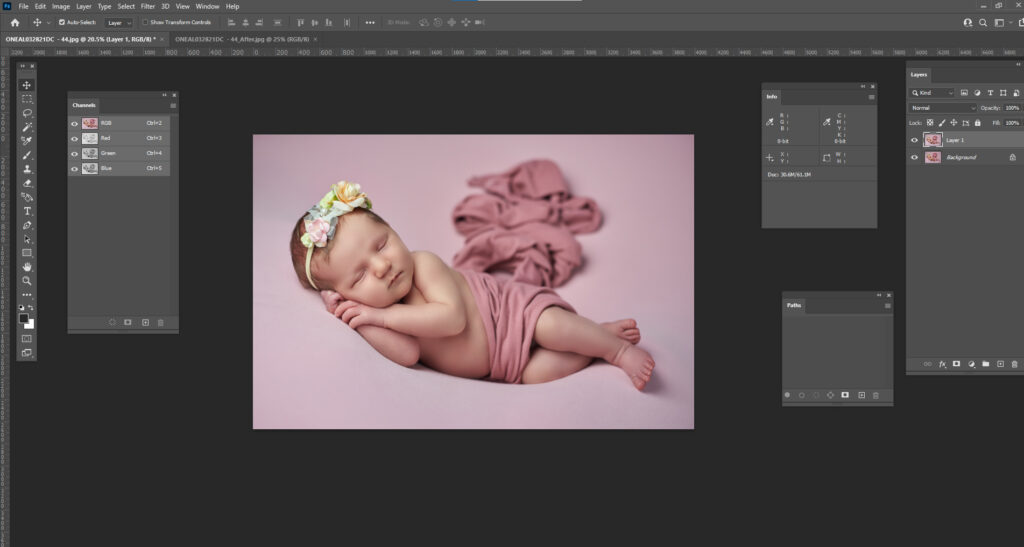
Newborns have flaky or red skin. Here’s how to do Newborn skin retouching while keeping it very natural:
Duplicate the Background Layer: You always want to work on a duplicated layer to keep your original intact.
Spot Healing Brush Tool: This tool will help to remove any blemishes, flaky skin, or redness. It can be located in the toolbar or by using the shortcut key J.
Frequency Separation: This is one of the advanced techniques which allow separating texture from color and tone, hence smoothening the skin without loss of details. There are plenty of tutorials online that will walk you through this technique in a step-by-step process.
4. Enhance the Eyes
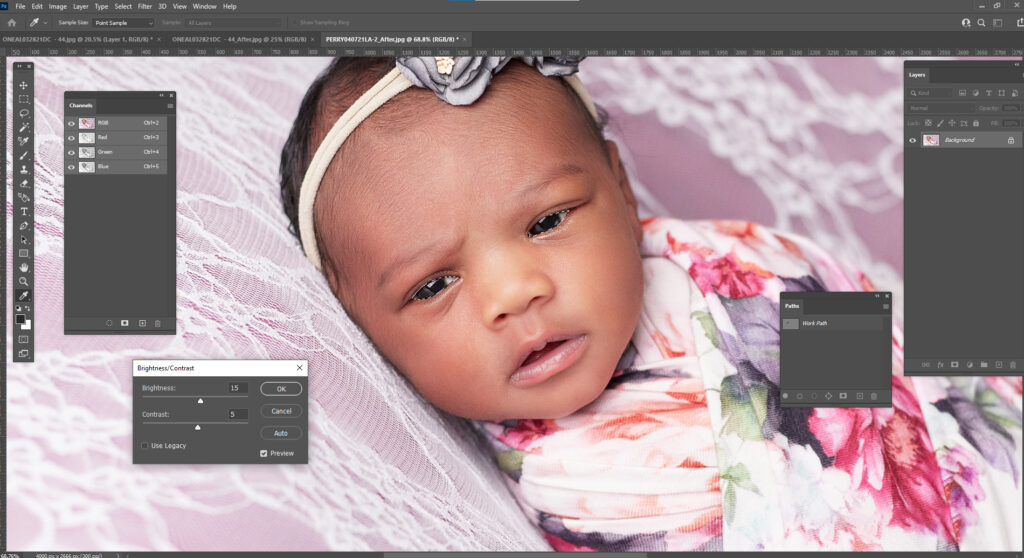
The eyes are always the focal point of any portrait image. To make them sparkle:
Dodge Tool: Using the Dodge Tool, gently paint over the irises to beef up the catchlights.
Sharpening: Sharpen up the eyes a bit with the Unsharp Mask filter (Filter > Sharpen > Unsharp Mask), but be cautious not to overdo this step.
5. Skin Tone Adjustment
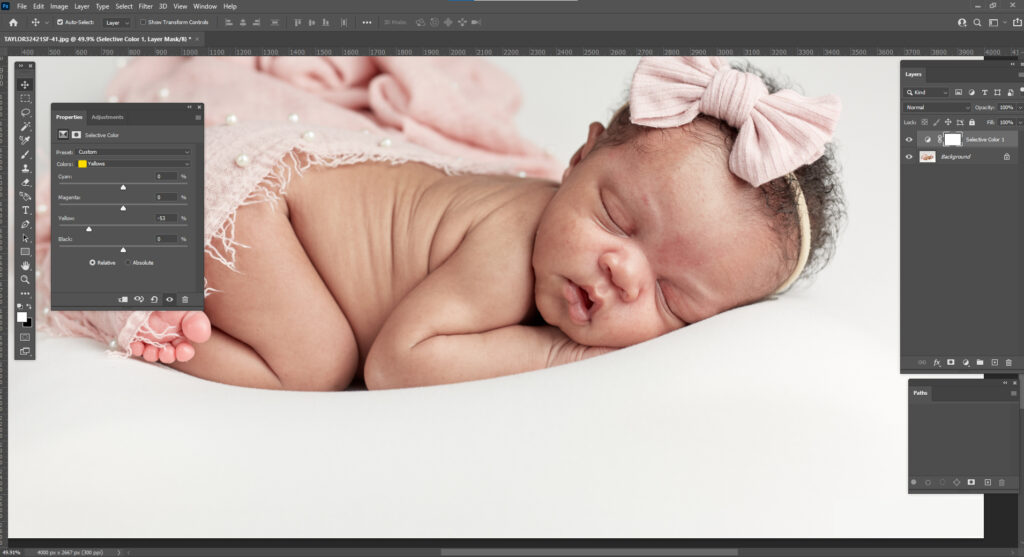
Newborns do have uneven skin tones. To even it out:
Hue/Saturation Adjustment Layer: Create a new adjustment layer—Layer > New Adjustment Layer > Hue/Saturation. Use the red channel to reduce redness.
Selective Color Adjustment Layer: This tool is available in Layer > New Adjustment Layer > Selective Color. It can give detailed refinement to specific colors in the image so that getting skin tone natural is a bit easier.
6. Blur the Background
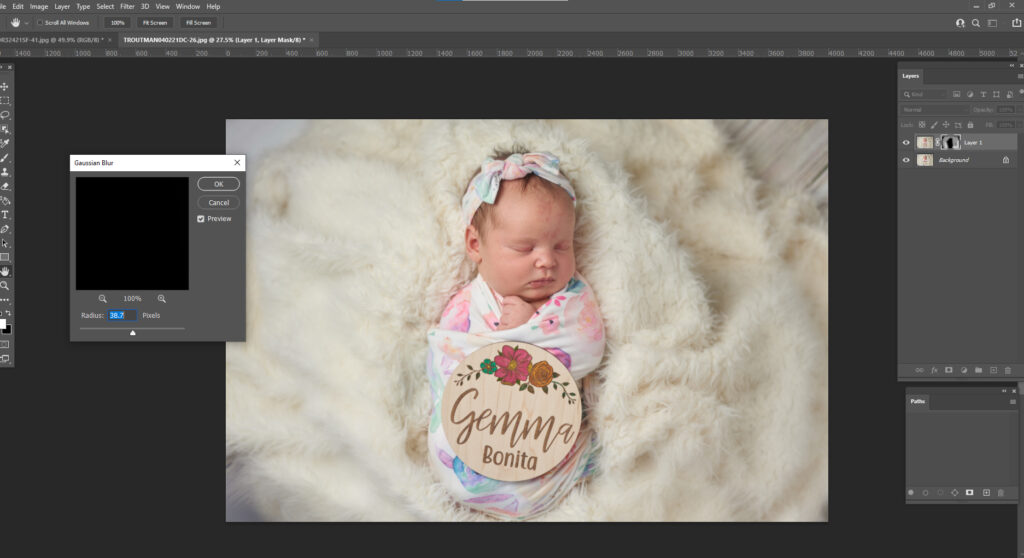
A soft, dreamy background will let the baby pop out. So, to do this:
Gaussian Blur: Duplicate the background layer and apply a Gaussian Blur to the layer by selecting Filter > Blur > Gaussian Blur. Paint over with a layer mask in the areas that you want sharp.
Gradient Tool: Use the Gradient Tool to paint a soft transition from blur at the top to sharpness at the bottom of the picture.
7. Add Warmth
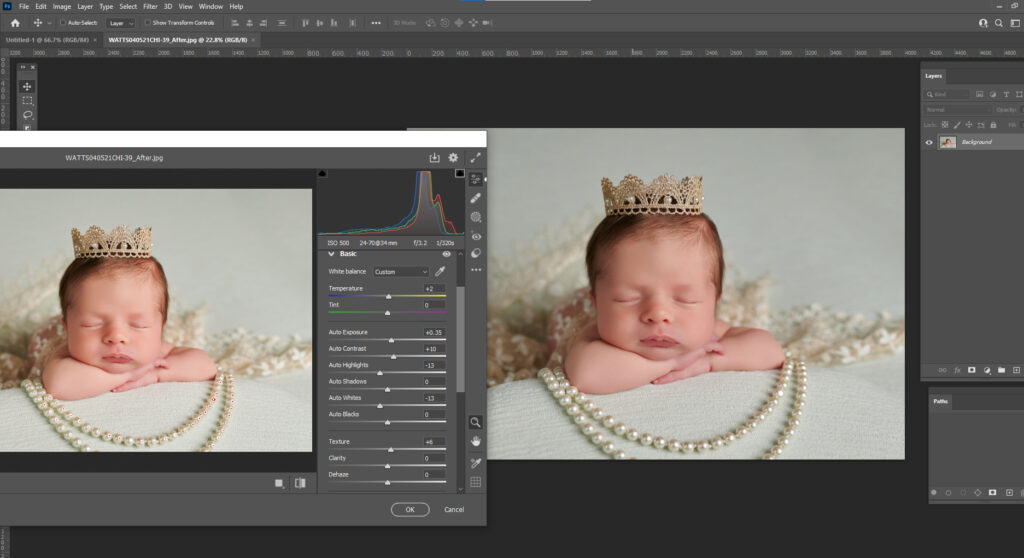
The warm glow will bring along tenderness to the photo:
Photo Filter Adjustment Layer: Go to Layer > New Adjustment Layer > Photo Filter, and select a warm filter (such as Warming Filter (85)), then adjust the density at will.
Overlay Layer: Create a new layer and fill it with a warm color. Change the blending mode to Overlay. Then, simply adjust opacity until it achieves the desired warmth.
8. Details in the newborn: Dodge and Burn
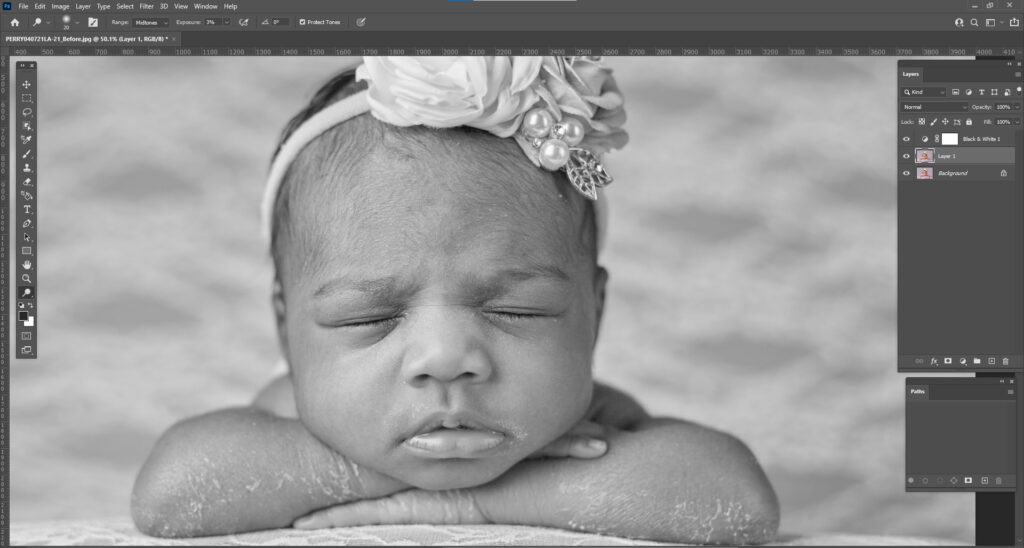
Use the Dodge Tool to lighten and the Burn Tool to darken those places in such a way that it creates depth and dimension in an image.
Clarity and Texture: In Camera Raw Filter, subtly increasing Clarity and Texture sliders to bring out the fine details without adding any harshness to the image.
9. Color Correction
This will ensure that the colors are realistic.
Levels Adjustment Layer: Levels Adjustment Layer will ensure that the tonal range in the image is correct and the color is balanced. To do this, go to Layer > New Adjustment Layer > Levels.
Curves Adjustment Layer: Curves Adjustment Layer allows you to create an ideal view with increased control over the process. To do this, go to Layer > New Adjustment Layer > Curves, then change the curves for each color channel to create the desired look.
10. Vignette Effect
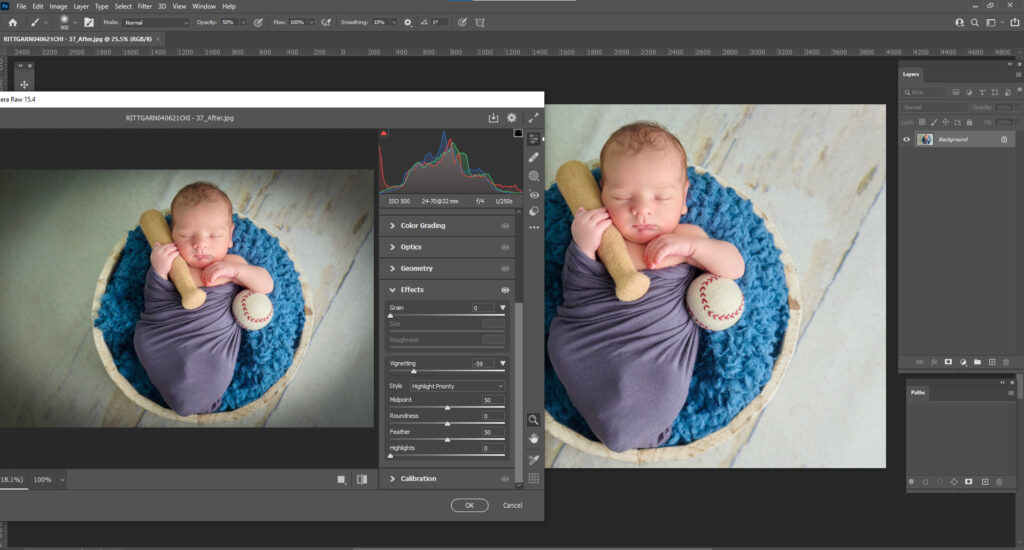
A subtle vignette can bring focus to the baby:
Lens Correction: Go to the Filter > Lens Correction and under the Custom tab, Vignette settings can be changed.
Radial Gradient: On a new layer, use a radial gradient with a soft black to transparent gradient to create the vignette effect and adjust opacity for subtlety.
11. Final Sharpening
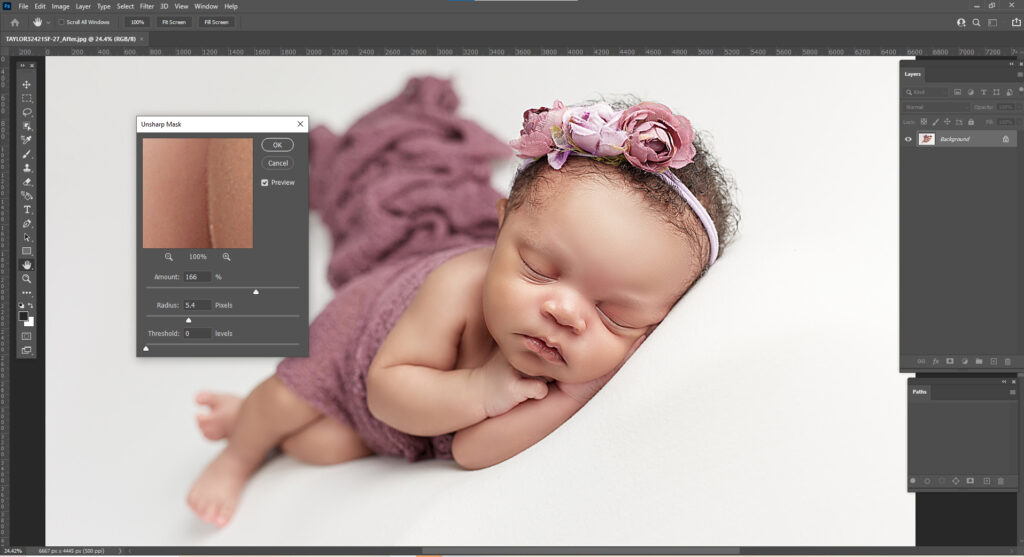
For a final step, overall sharpening can be added to the image:
High Pass Filter Duplicate the background layer, change its blend mode to Overlay, and apply the High Pass filter using Filter > Other > High Pass. The radius will basically be the same value that you want for sharpness.
12. Saving Your Work
Save the edited image in PSD format to retain the layers and adjustments. Save the image in JPEG format to be shared or printed. Be sure to save at the highest quality to ensure there are no compression artifacts.
Conclusion
With these tips, you’ll get stunning, soft, natural newborn photos that show the delicate features of the baby. If you need help in newborn skin retouching, editing, or any other sorts of help, Global Photo Edit is here. We also offer headshot retouching services.


