Get a Pixel Perfect Product Photography Frame: 12 Things to Avoid
Taking precise product photography involves time and effort to ensure that every pixel is in order and this moves beyond technique to demand creativity too. So, it is possible to list a great number of things which one has to do to capture the perfect shot, however, there are also the things which one has to avoid. Do not make these mistakes to spoil the process of shooting.
And if you need quality images for your products, reach out to Global Photo Edit by searching product photo editing company.
Things to Avoid During Product Photography

1. Poor Lighting
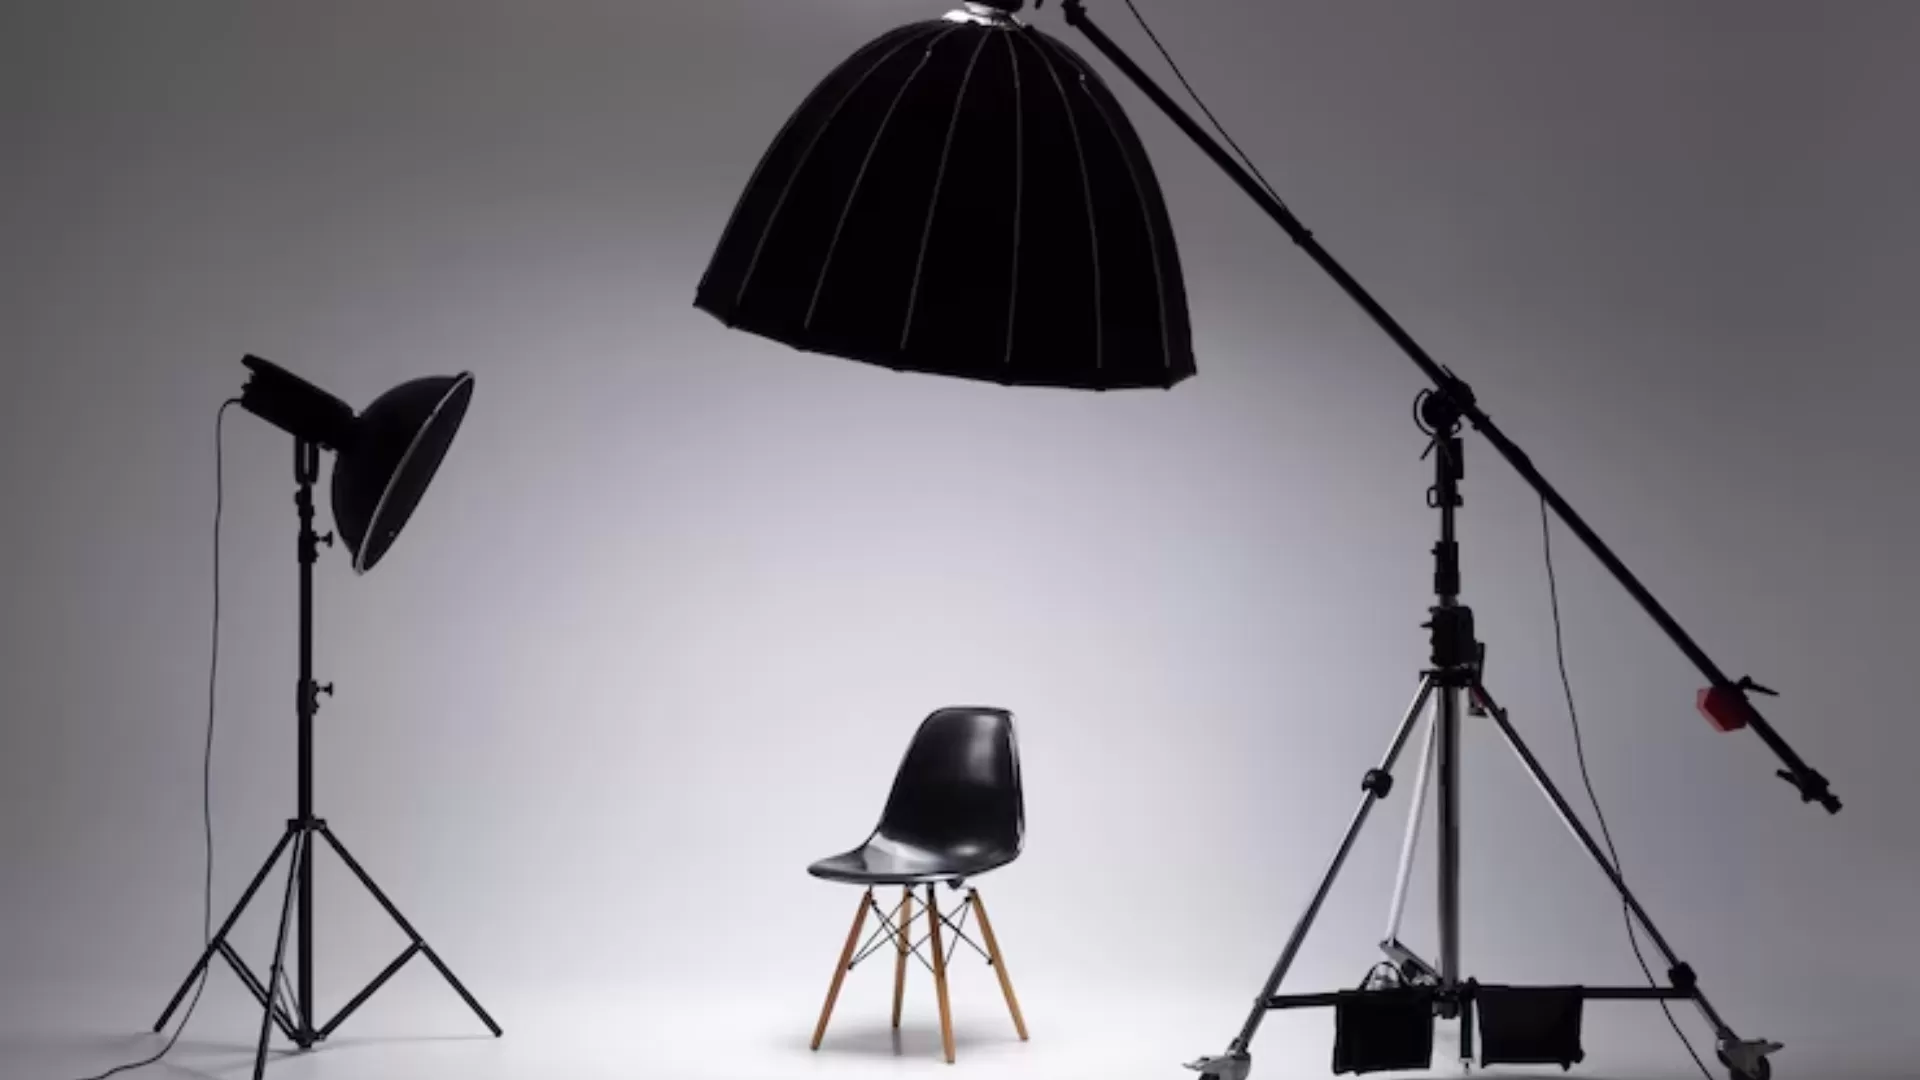
Lighting is very important in product photography. Do not use low or varying lighting conditions, which results in high contrast, over and under exposed area, as well as wrong color range.
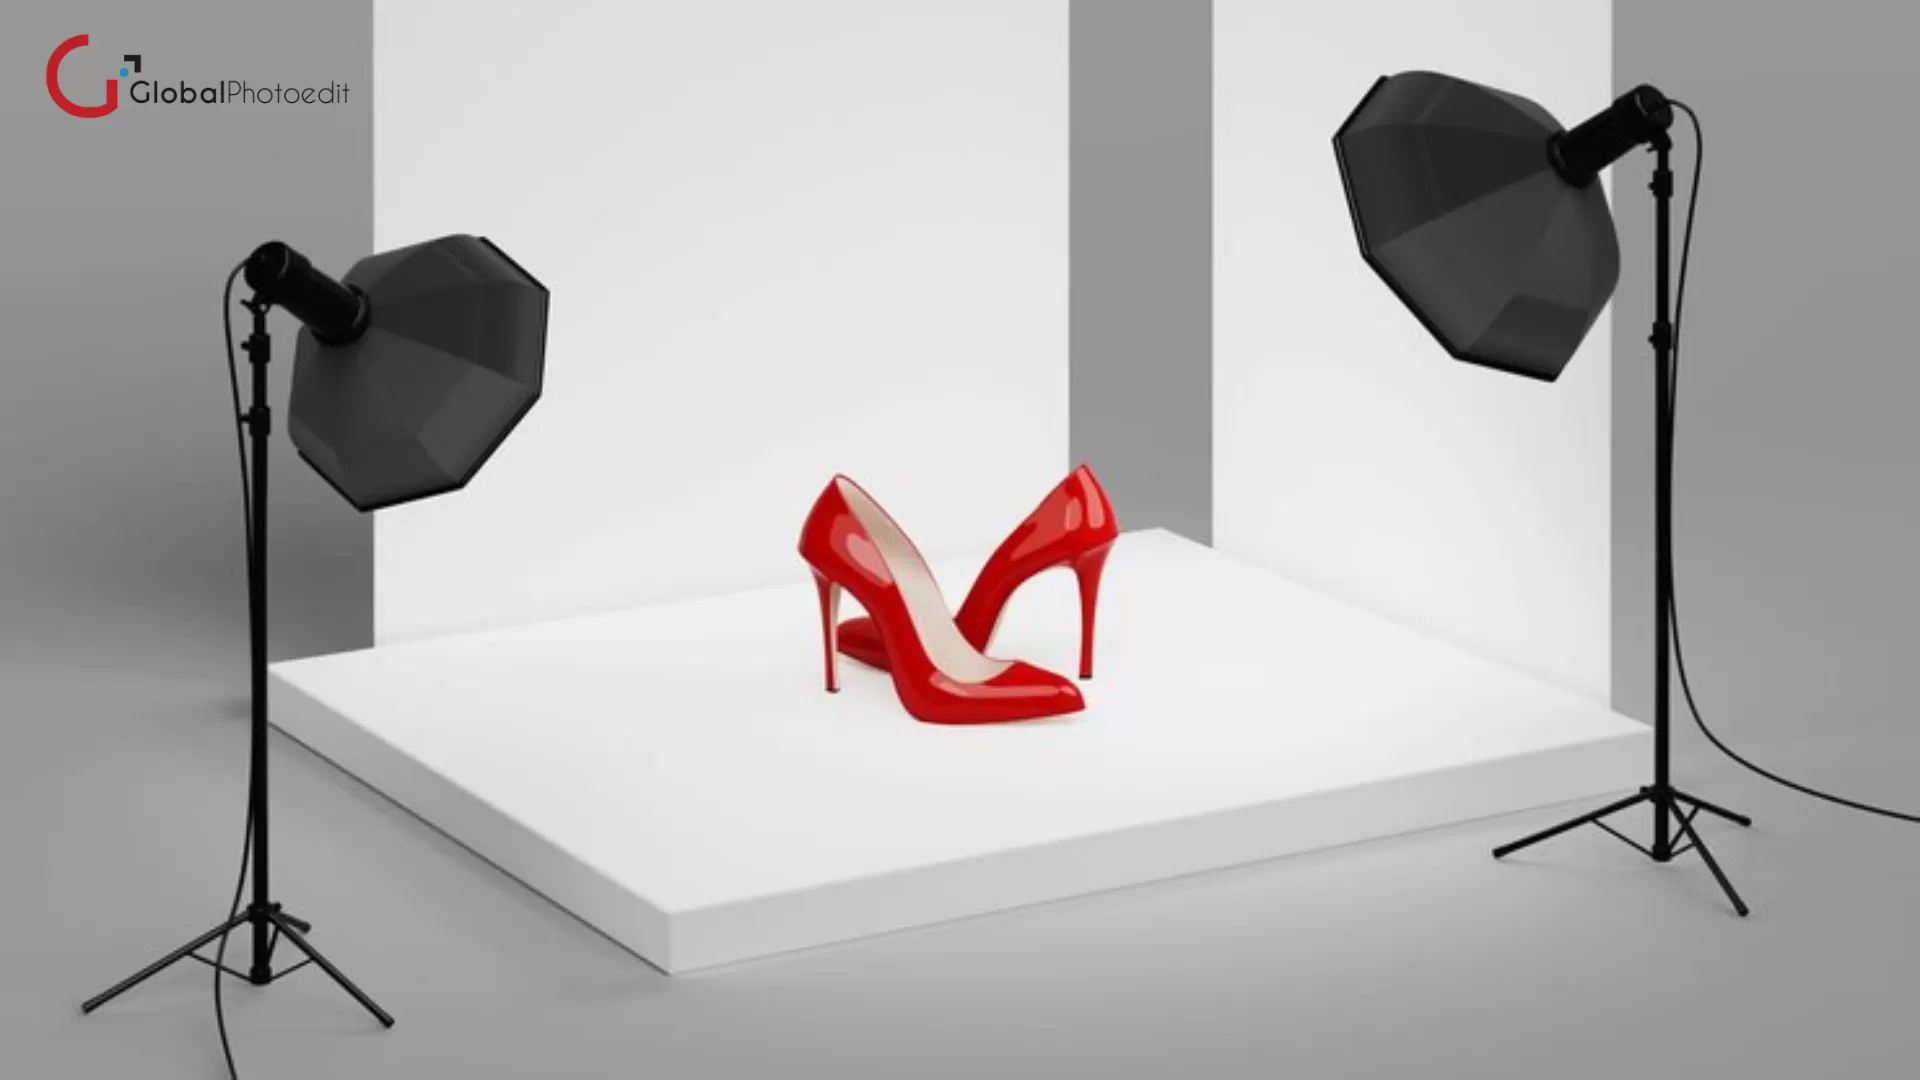
The best light type is sunlight however if artificial light must be used then ensure they are soft light sources which are diffused. Do not position the light source too close to the product or too far from it, which overexposes or under exposes your subject.
2. Ignoring the Background
The background can only be optimal in the sense that it has to be unobtrusive in as far as it does not divert the viewer’s attention from the product.
Do not keep backgrounds complex or full of patterns which may overshadow the product or item being advertised.The background should be unwrinkled and devoid of any speck or any other item that may distract the attention of the viewers from the product on display.
3. Incorrect White Balance
That is why illumination of the scene and improper settings of the white balance can lead to the unnatural color shade. Do not rely on auto white balance of the camera especially in cases where the subject is back-lit.
However, to ensure the proper representation of the colors one needs to adjust the white balance with the help of one’s hands. This is especially so for those products, which require good color quality such as clothes or items to be sold in the fashion industry or food items etc.
4. Inconsistent Angles
As per experts at ecommerce product photo retouching services, set up is crucial in product photography and especially when taking pictures of a number of products to appear in a catalog or an online store.
For the specified product lineup, do not shoot the products at various camera angles in the absence of a genuine reason, because such an approach will only bore the viewers and make the product lineup look uninteresting. Maintain regular positions like the frontal view or the view from the side of the object being photographed at the same angle, for instance at 45°.
5. Using Low-Quality Equipment
Although it is not necessary to invest in costly equipment and accessories, employing substandard items works to reduce the quality of the pictures to be taken. Do not be tempted to use cameras or lenses that are no longer up to date and which provide near-to-vintage picture quality.
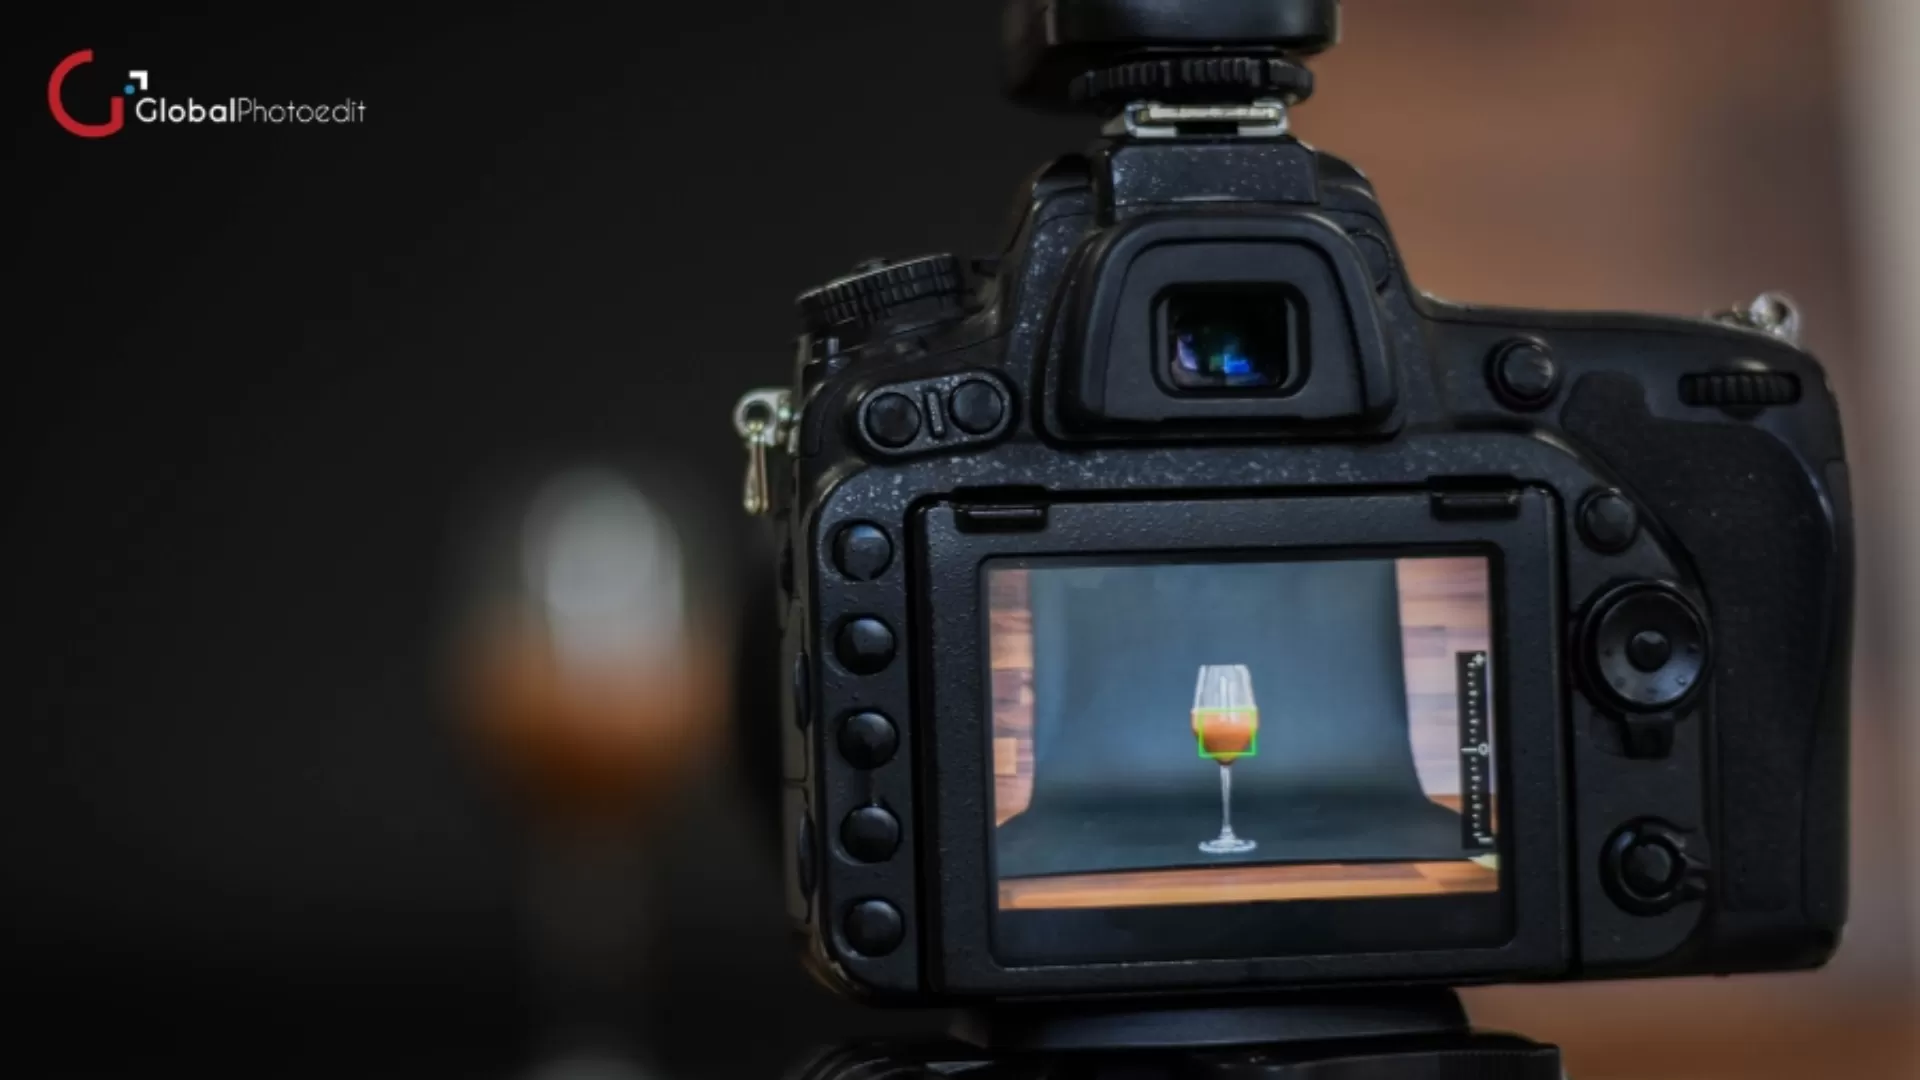
Spending money on a good camera, a tripod, and lens is the best decision depending upon the kind of product photography that you are into. Doing shots without a tripod is a big no because it helps ensure that you have a steady camera for every shot.
6. Overlooking Focus and Sharpness
The pixelation of an image is something that can spoil a really good photograph. Do not set your aperture too large, often associated with too low a number, because this will limit your depth of field making part of the product blurry.
Make sure that the focus is on the product and when photographing (take pictures) using a smaller aperture, a high number on the f-stop helps to capture every part of this product in detail.
7. Neglecting Product Preparation
Contaminated, dusty, or in any way beaten up products will be detected easily when a high-resolution image is taken. Do not take a photograph of a product without wiping the surface several times, and having a keen look at it.
This concerns cleaning the product from fingerprints, dust and anything else that may be on the surface and may reduce the aesthetic value of the surface. In cleaning, one can use the microfiber cloths, compressed air and even minor touch in the post-processing to ensure that the product comes out clean and perfect.
8. Over-Editing
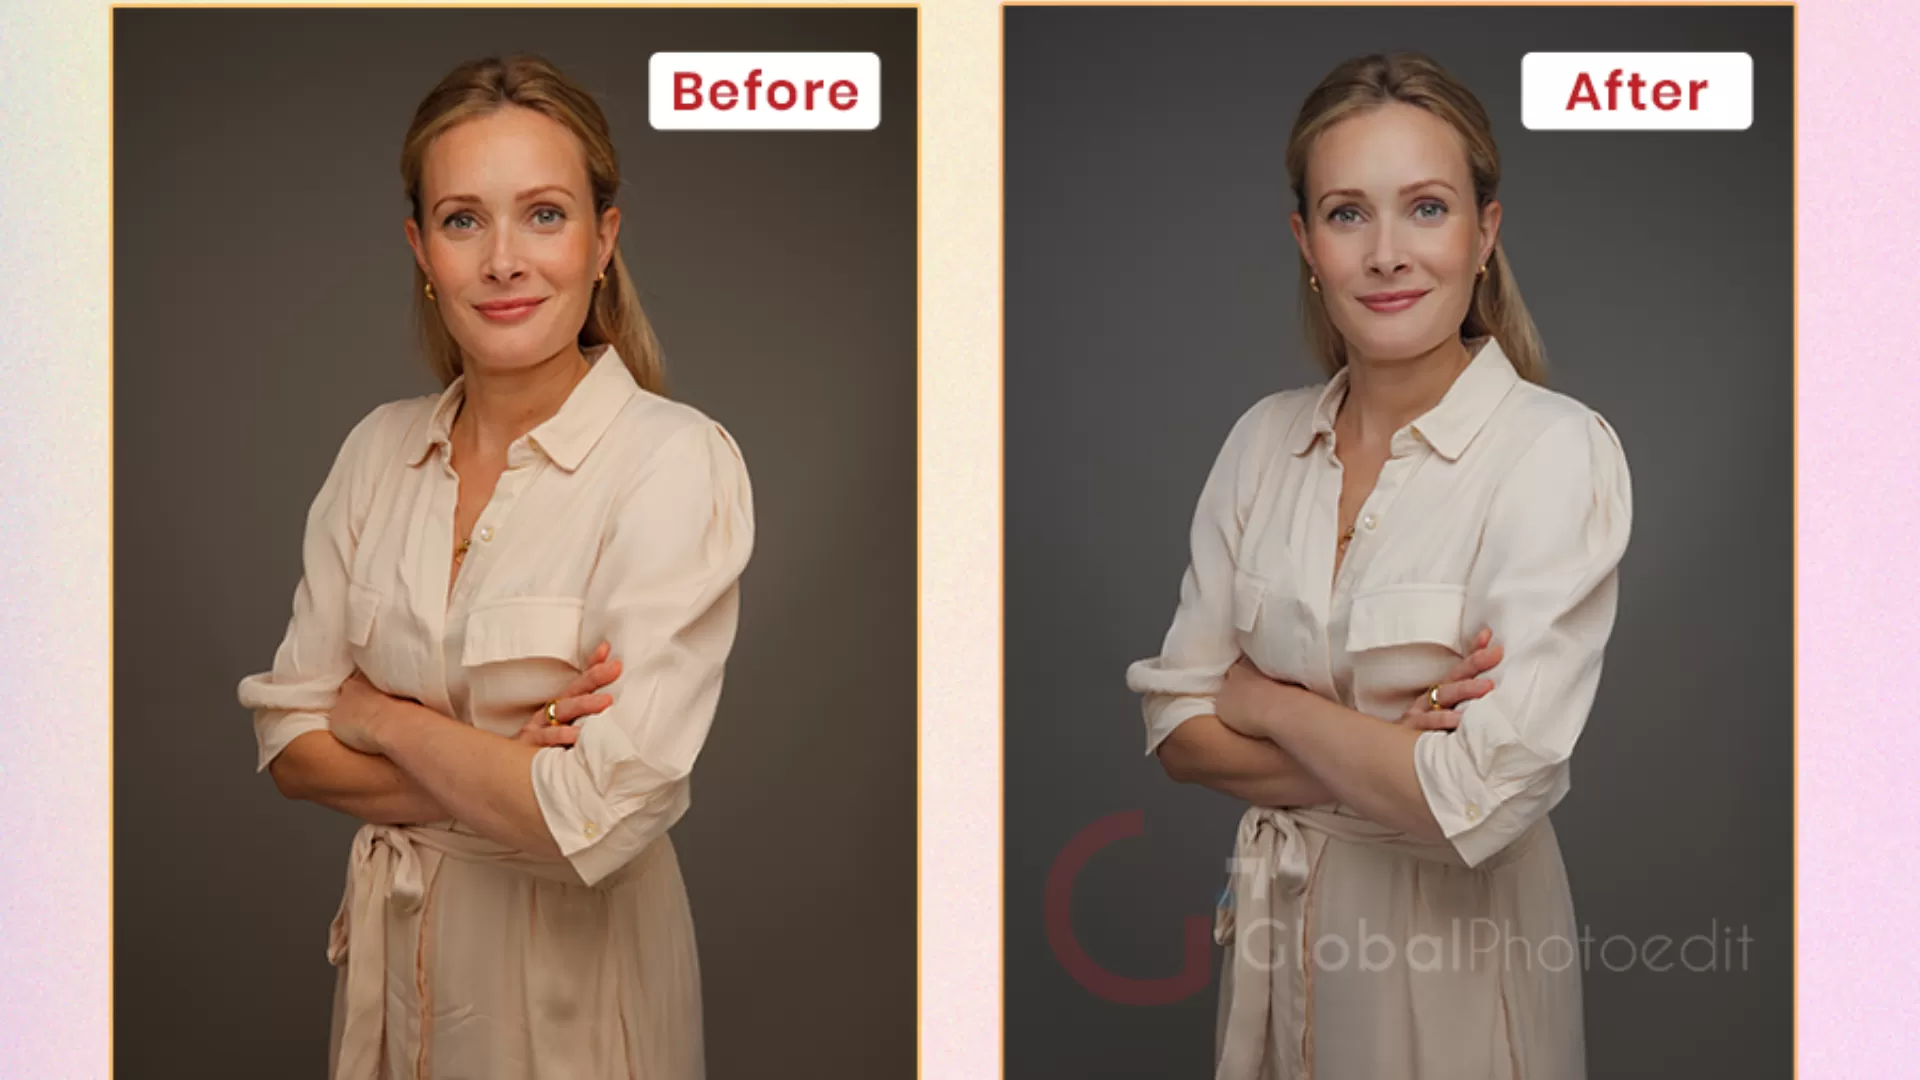
Post-processing is a very important stage concerning fine tuning of images but overdoing it is deleterious to the images. Do not over reliance on filters and adjustments such as saturation or contrast which obscure the real look of the product.
Thus, the goal of editing is to make enhancements that are not as radical in the change of the image of the product. Concentration should be made on issues such as color balance, the sharpness of the picture as well as erasing of any marks on the picture while considering the picture realistic.
9. Ignoring Reflections and Glare
Reflective products such as shiny surfaces on metallic, glass or plastic materials are liable to reflection and glare. Do not place standing lights or the camera at a certain distance where it may cause the product to develop reflections.
To remove reflection one should maybe use diffusers, polarizing filters, and adjust the angle of lights.
10. Using Incorrect Image Formats
Selection of an improper image format plays a critical role in determining the quality, size as well as versatility of images.
Do not save your images in small formats such as jpg as the images tend to blur and fade when expanded to larger sizes. When editing images use the RAW or TIFF formats and export the images in high JPEG format that are well sharp and clear for web use.
11. Neglecting Composition
Lack of proper composition, the best of light and focus can make the output look rather unattractive. Do not position the product close to either side of the frame, or aligned with the corners unless it is stylistically motivated.
In positioning the product in the frame, divide the frame into thirds in order to position the product in the golden spirit but ensure that there is ample space around the product so that it does not look confined.
12. Not Testing Shots
Prevention of beginning with shooting without taking some trial shots that help in determining the correct lighting, the focus and even the arrangement to be used among others.
These test shots are best done on a computer screen instead of just on the camera’s LCD so as not to allow small problems to come out in the actual shoot. By investing some time in testing and calibrating the new setting will prevent one from repeating an entire session.
Conclusion
It is indeed a challenging task to get the perfect shots of the products all to the pixels and that too in the first attempt. With the help of these tips, it is possible to do the following 12 things which will help to avoid mistakes and produce great, professional-looking photos of the products.
Do not forget that product photography is best learnt over a period of time and so you have to keep on with your practice. In case your product photos have some issues, reach out to Global Photo Edit by searching product photo editing company.


