How to Use Ghost Mannequin in Your Product Photography Join?
Ghost mannequin is a technique that may be quite effective in the presentation of clothing and apparels as it guides the attention to the product and at the same time reserves an equal value to the beauty and contour of the piece of clothing being advertised.
The leading image editing, and retouching company, Global Photo Edit has come up with a comprehensive guide on how to effectively use ghost mannequins for your product photography. Moreover, we’re also the best Apparel Photo Editing company.
Ways to Use Ghost Mannequin for Your Product Photography
1. About the Effect
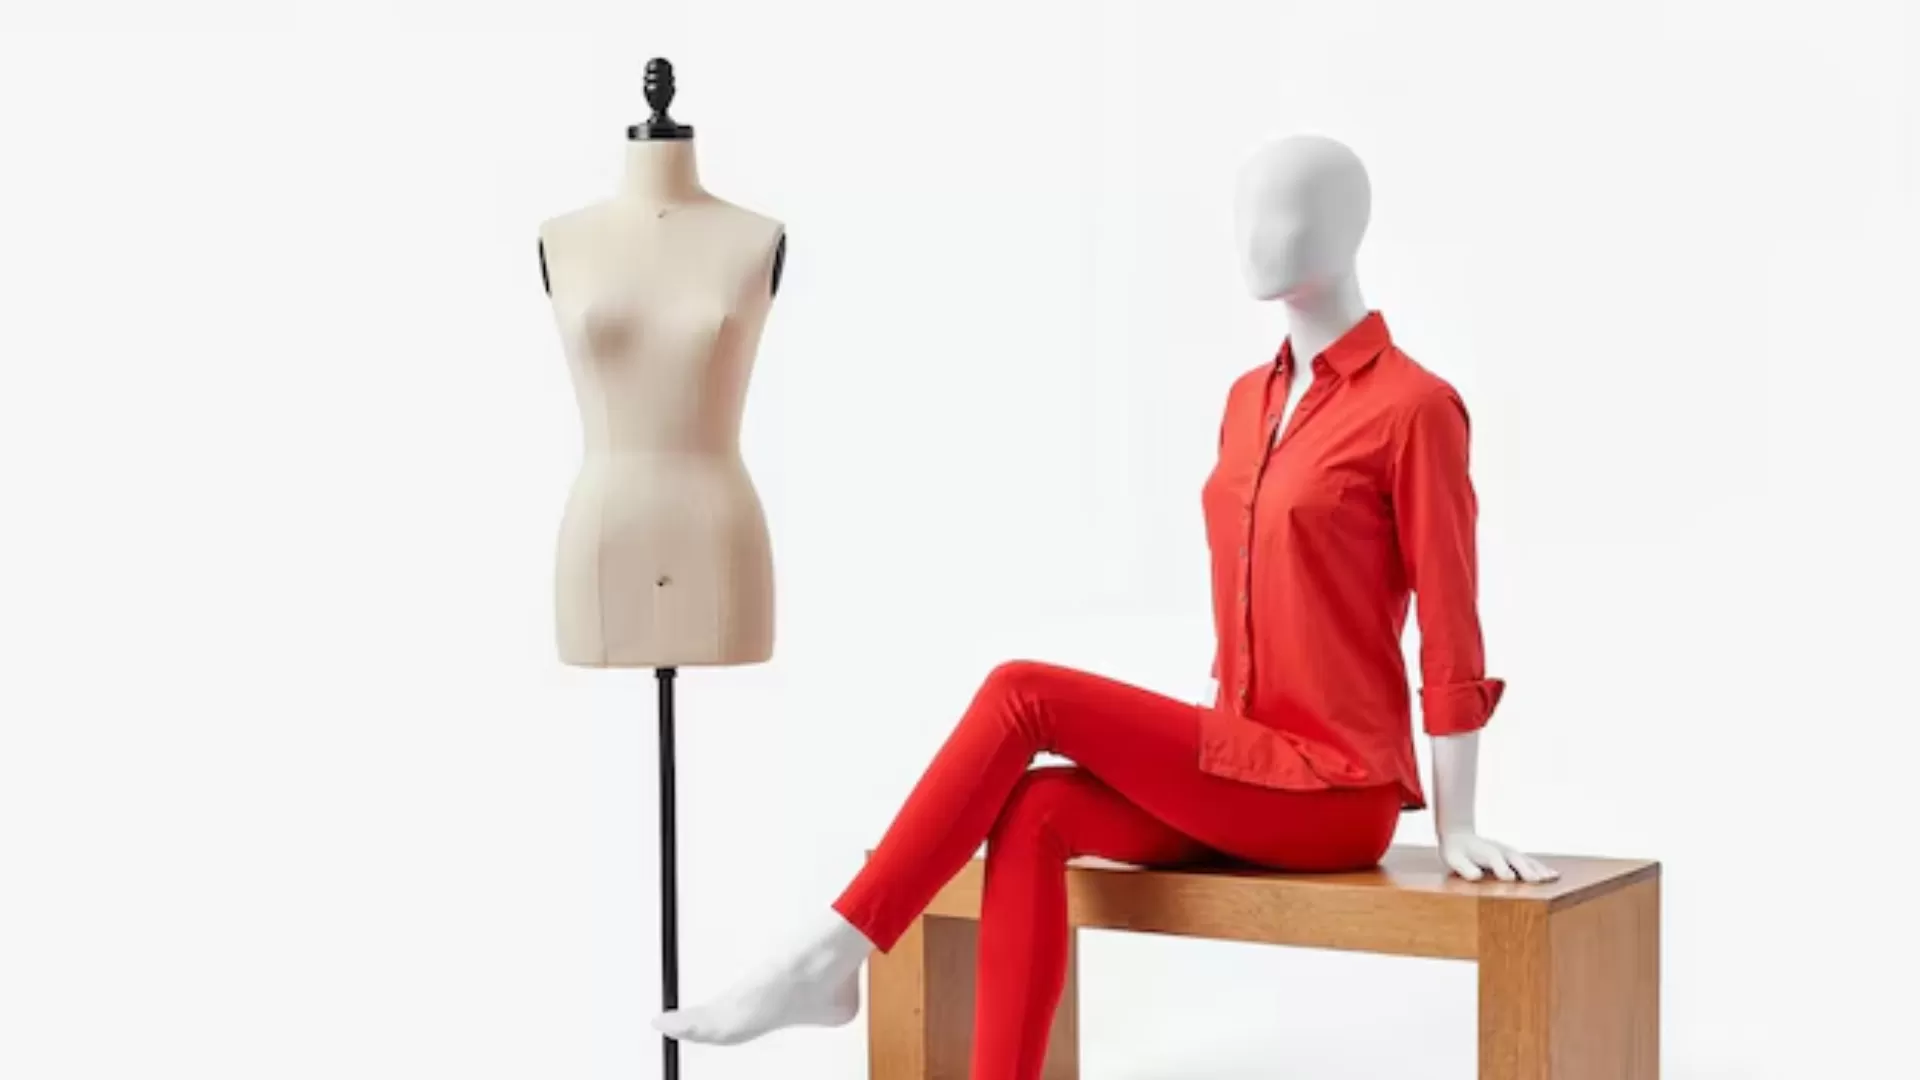
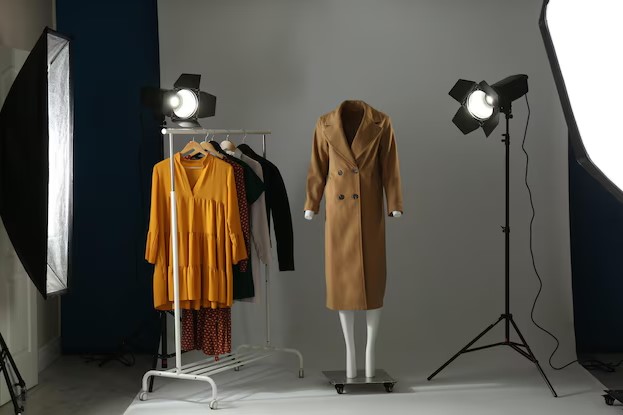
Ghost Mannequin Effect: It is referred to as one among the various mannequin strategies and effects adopted for hanging the clothes in such a manner that the real mannequin or model is not observed.
This technique gives the product the glamorous view of being worn by a ghost model. Many of its uses are in e-commerce and catalog photography for the sampling technique enables a focus on the clothing piece in exclusion of other details.
2. Prepare Your Equipment and Space – Camera and Lens
Many clear, focused pictures can be made using a digital camera mounted on tripod which does not move or a high-quality, large-pixel camera with good macro capability.
This is especially so where there are likely to be regular changes of scene; this makes it possible to maintain a constant view of the shots irrespective of the position of the tripod.
– Lighting: Sativa the lighting lightly and make sure they are diffused so that no part will overshadow the texture and color of the materials used in the clothes. Studio lighting or continuous lighting othering more appropriate for the shoot to be carried out.
– Background: When taking photographs make sure that the background is simple and does not draw any attention to it, this usually a plain simple colored background such as white or light gray so that in the process of erasing it is easier.
3. Set Up the Ghost Mannequin- Choose the Right Mannequin
Select a mannequin which is developed in such a manner that it has individual parts such as neck, shoulder and the body part. This will help you in the process of eradicating and substitution of the segments of the mannequin during the time of editing.
– Position the Garment: It should then be posable or clearly displayed and hanging should be well done or the garment should fit well to assert more of the features. Smooth out wrinkles and ensure that the Clothing Items are properly pressed to how they are supposed to hang.
– Secure the Mannequin: If the garment requires some support, then pins and clips are required not only to support the garment but also to support the shape. To avoid this it is advisable that such tools should not be seen or if seen they should be easily disposed of once the shots are being taken.
To know more on this, search ecommerce product photo retouching company near me, and contact Global Photo Edit.
4. Photograph the Garment
– Multiple Angles: Do not only capture the front side of the garment but take photo of the back and side of the garment to capture all that is on the garment. If possible take pictures of even small areas that include buttons zippers and the surface texture of the fabric.
– Consistency: It is advisable that for all the scenes shot, the director tries to be as consistent as possible regarding the lights, background and even camera settings to get the near similar effect. It will make editing easier and part of the reason behind having professionally looking image.
5. Modification and Creation of the Ghost Mannequin Impact
– Image Selection: The next step that is required to perform is to make the selection for the best images out of the shot. This is particularly the case if you need separate images for the final ‘ghost mannequin’ appearance, such as front and back views of the garment.
– Use Editing Software: That usually can be done in Adobe Photoshop but that also can be done in other programs like GIMP. Follow these steps:
1. Open Images: Sort your photos in such a way that they will be ready to be imported to an editing software.
2. Remove the Mannequin: It is safer and wiser to outline the mannequin using the Magic Wand, Lasso Tool or the Pen Tool for each picture. It involves stripping off all the other accessories of the mannequin in a way that one is only left with the garment that is being advertised.
3. Combine Images: If you have the front and backshoot different, splice them in a way that when the shot is put together it is Non-Interruption. Remember that the joints and edges have to meet the right way.
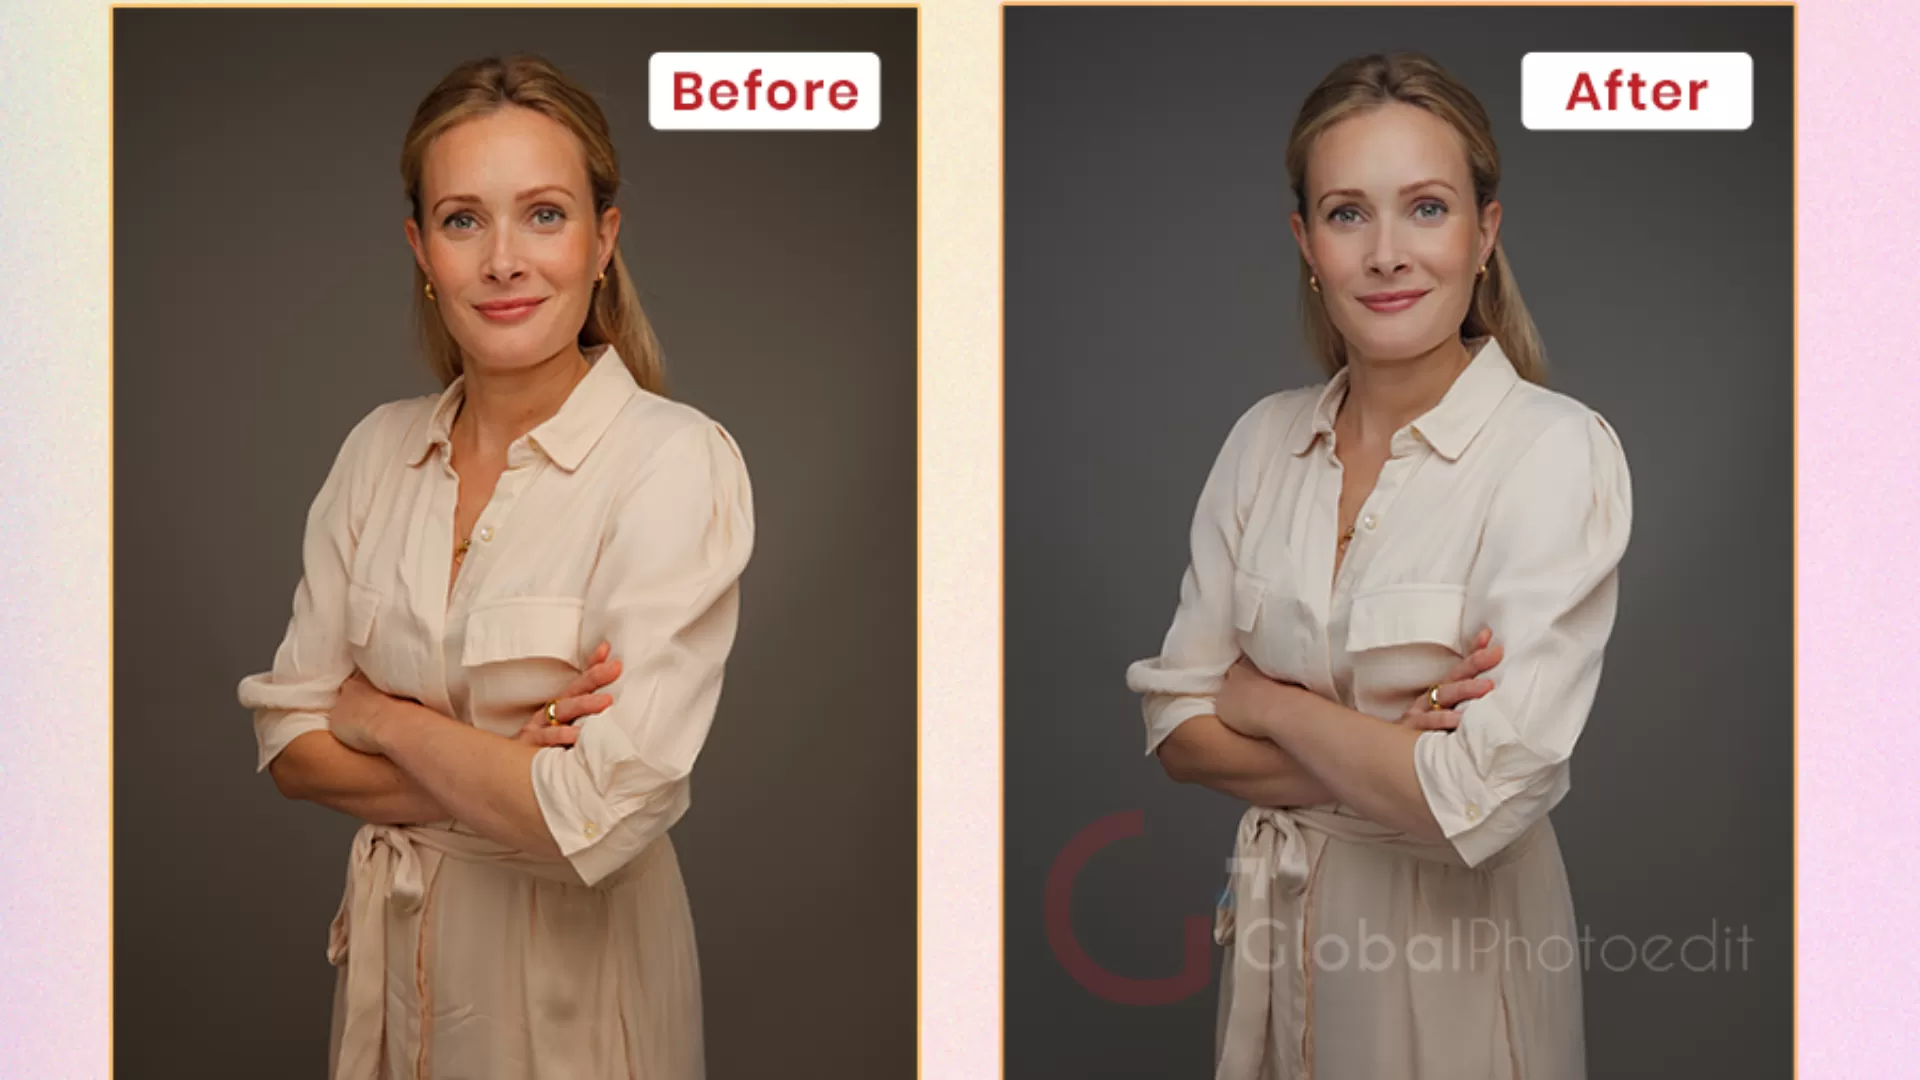
4. Retouching: Discard any residual regional inaccuracy or influence over the mannequin. If one wants to make the edges sharp and look somewhat polished one has to use a clone stamp or healing brush. You can contact Global Photo Edit for any help by searching Ecommerce product photo retouching company near me.
5. Final Adjustments: This is in an effort to alter image brightness, contrast and color balance so as to bring the look feel of the garment to the best appearance. Make sure that final picture is as close to unreal color as possible and captured all the aspect of the product.
Save and Export
– File Format: Make sure to save your final image in a format that you can print on the web or in print. While, while creating and placing the online listings in JPEG or PNG formats, for the print media one usually opt for TIFF format.
– Quality Check: Finally, review the final image to ensure that it does not look like a cartoon and all the important aspects of the garment are depicted. Lastly, remember to edit the image before posting in your e-commerce site or on any material that you have designed for marketing.
Best Practices and Tips for Best Use of Ghost Mannequin
– Use a High-Quality Mannequin: This is because when one is using the ghost mannequin technique, a good quality ghost mannequin will mean that less editing will be needed from the part of the one taking the images and hence the final produced images will be of high quality.
– Keep Your Workflow Efficient: Establish a routine that involves capturing images and redistributing the clothes that the store seeks to sell to the customers.


